EKS
EKS Setup
Amazon Elastic Kubernetes Service (EKS) is a managed service that makes it easy to run Kubernetes on AWS without having to install and operate your own Kubernetes control plane or worker nodes. EKS takes care of the high availability and scalability of the Kubernetes control plane, letting you focus on deploying and managing your applications.
Usage Cost
The cost of using EKS can vary depending on the region and the services used. It is important to monitor costs and optimize resource usage to avoid surprises on the bill. You can use the AWS pricing calculator to estimate your project's costs.
CAUTION: the EC2 instance type is one of the main factors affecting the cost of EKS. Larger, more powerful instances cost more, while smaller, less powerful instances cost less. In addition, the use of extra resources, such as block storage and load balancers, can also increase costs1.
TO DO
Create an EKS cluster and deploy the Spring Boot application to the cluster. You can use the AWS CLI or the AWS console to create and manage your EKS cluster.
To implement the database, you can use Amazon RDS (Relational Database Service) or Amazon DynamoDB, depending on your project's needs.
Roadmap
This roudmap is not complete and may not cover all the steps you need to take to configure your AWS environment. It is a good start to help you understand the steps you need to take to configure your AWS environment. You can find more information about each step in the AWS documentation.
Create an AWS account and configure the AWS CLI. You can use the AWS CLI to manage your AWS services from the command line.
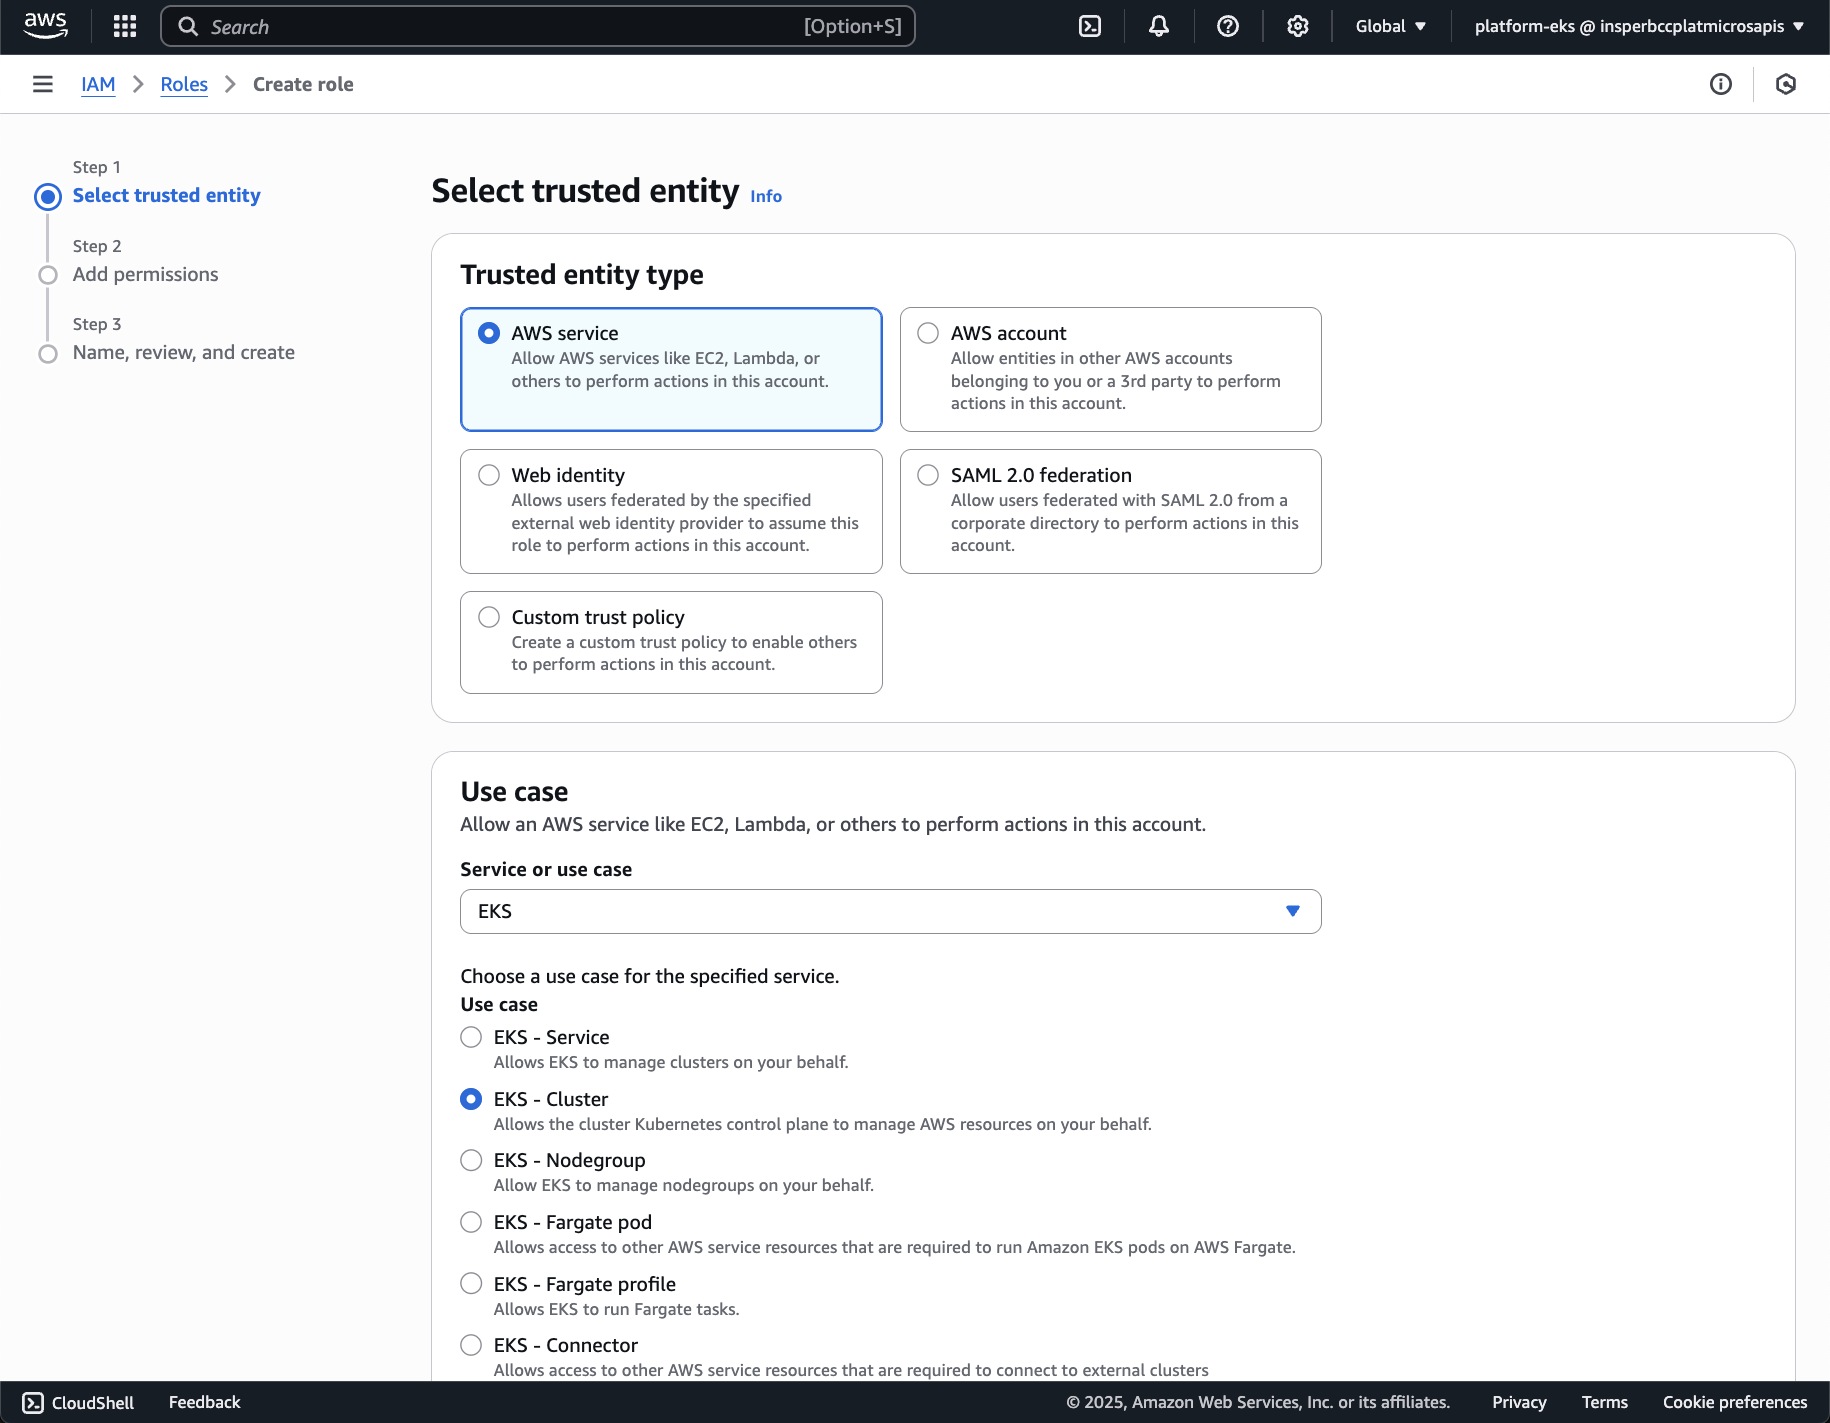
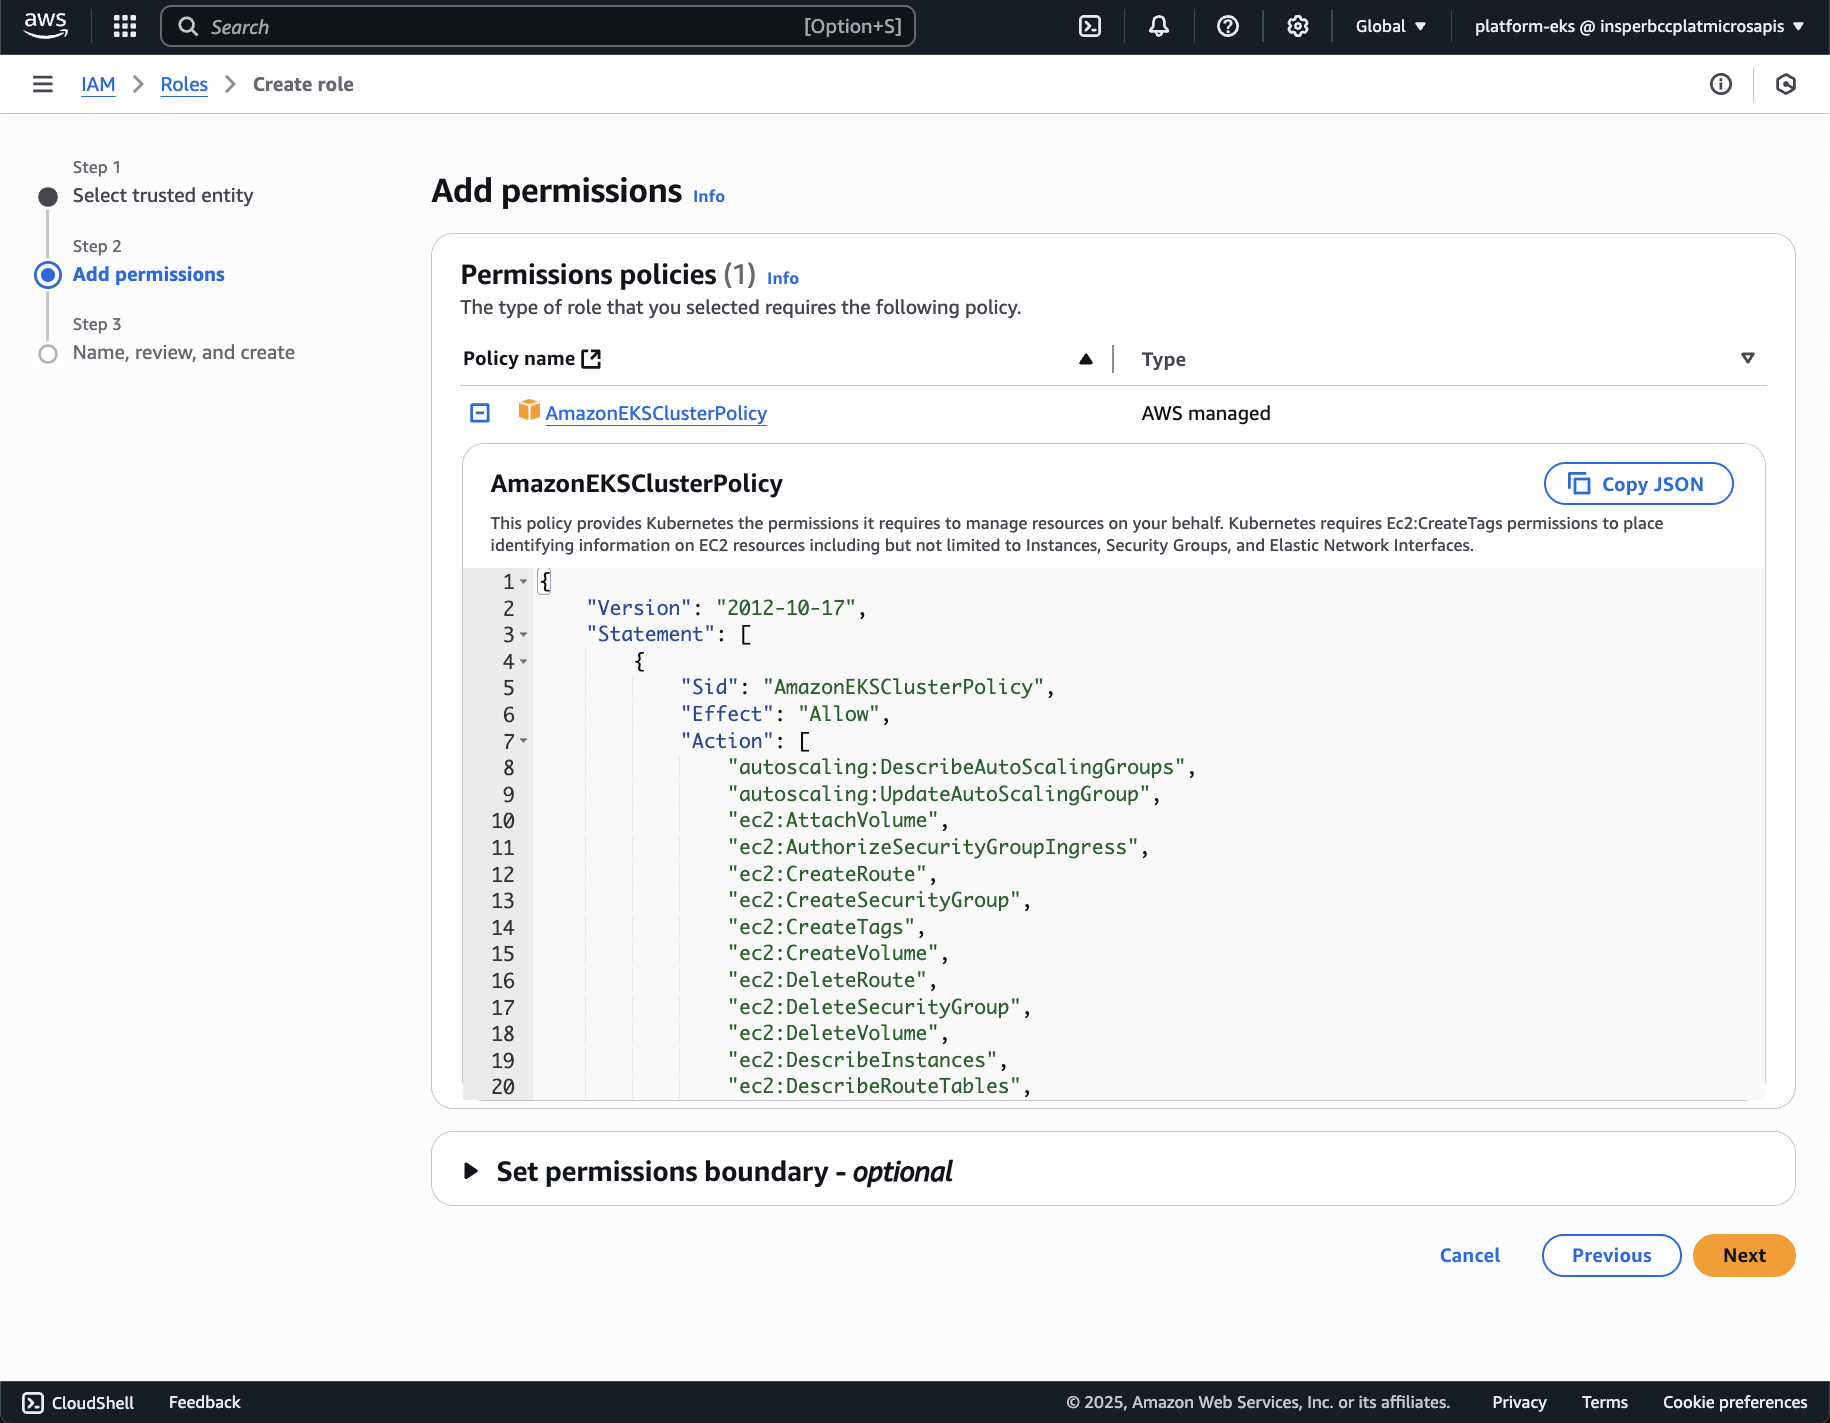
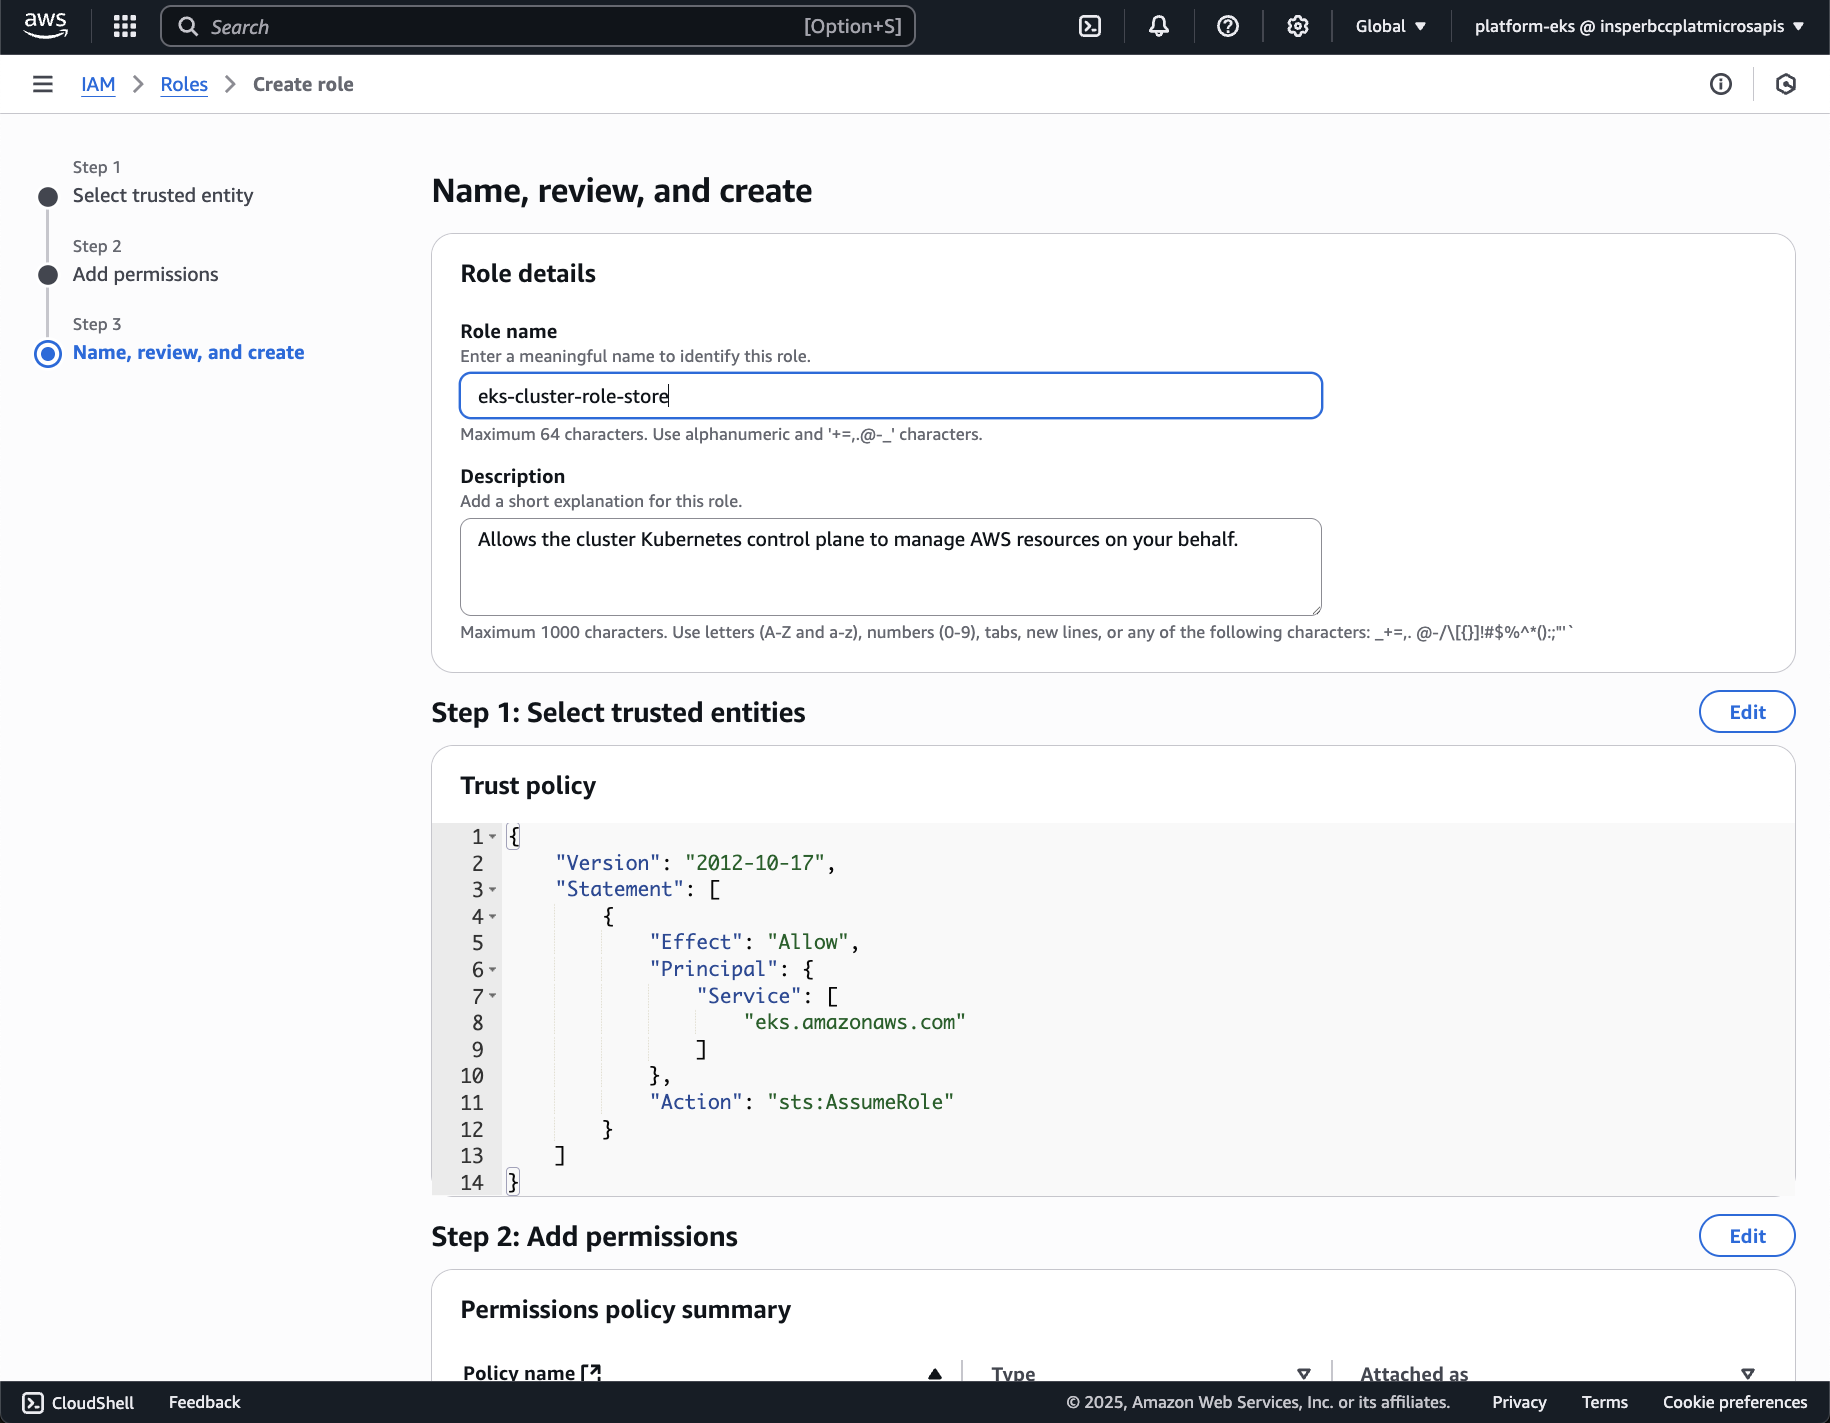
Overview of the VPC:
flowchart TB
subgraph Region
    direction LR
    subgraph Zone A
    direction LR
    subgraph subpri1["Subnet Private"]
        direction TB
        poda1["pod 1"]
        poda2["pod 2"]
        poda3["pod 3"]
    end
    subgraph subpub1["Subnet Public"]
        loadbalancea["Load Balance"]
    end
    end
    subgraph Zone B
    direction LR
    subgraph subpri2["Subnet Private"]
        direction TB
        podb1["pod 1"]
        podb2["pod 2"]
        podb3["pod 3"]
    end
    subgraph subpub2["Subnet Public"]
        loadbalanceb["Load Balance"]
    end
    end
    User --> loadbalancea
    loadbalancea --> poda1
    loadbalancea --> poda2
    loadbalancea --> poda3
    User --> loadbalanceb
    loadbalanceb --> podb1
    loadbalanceb --> podb2
    loadbalanceb --> podb3
end
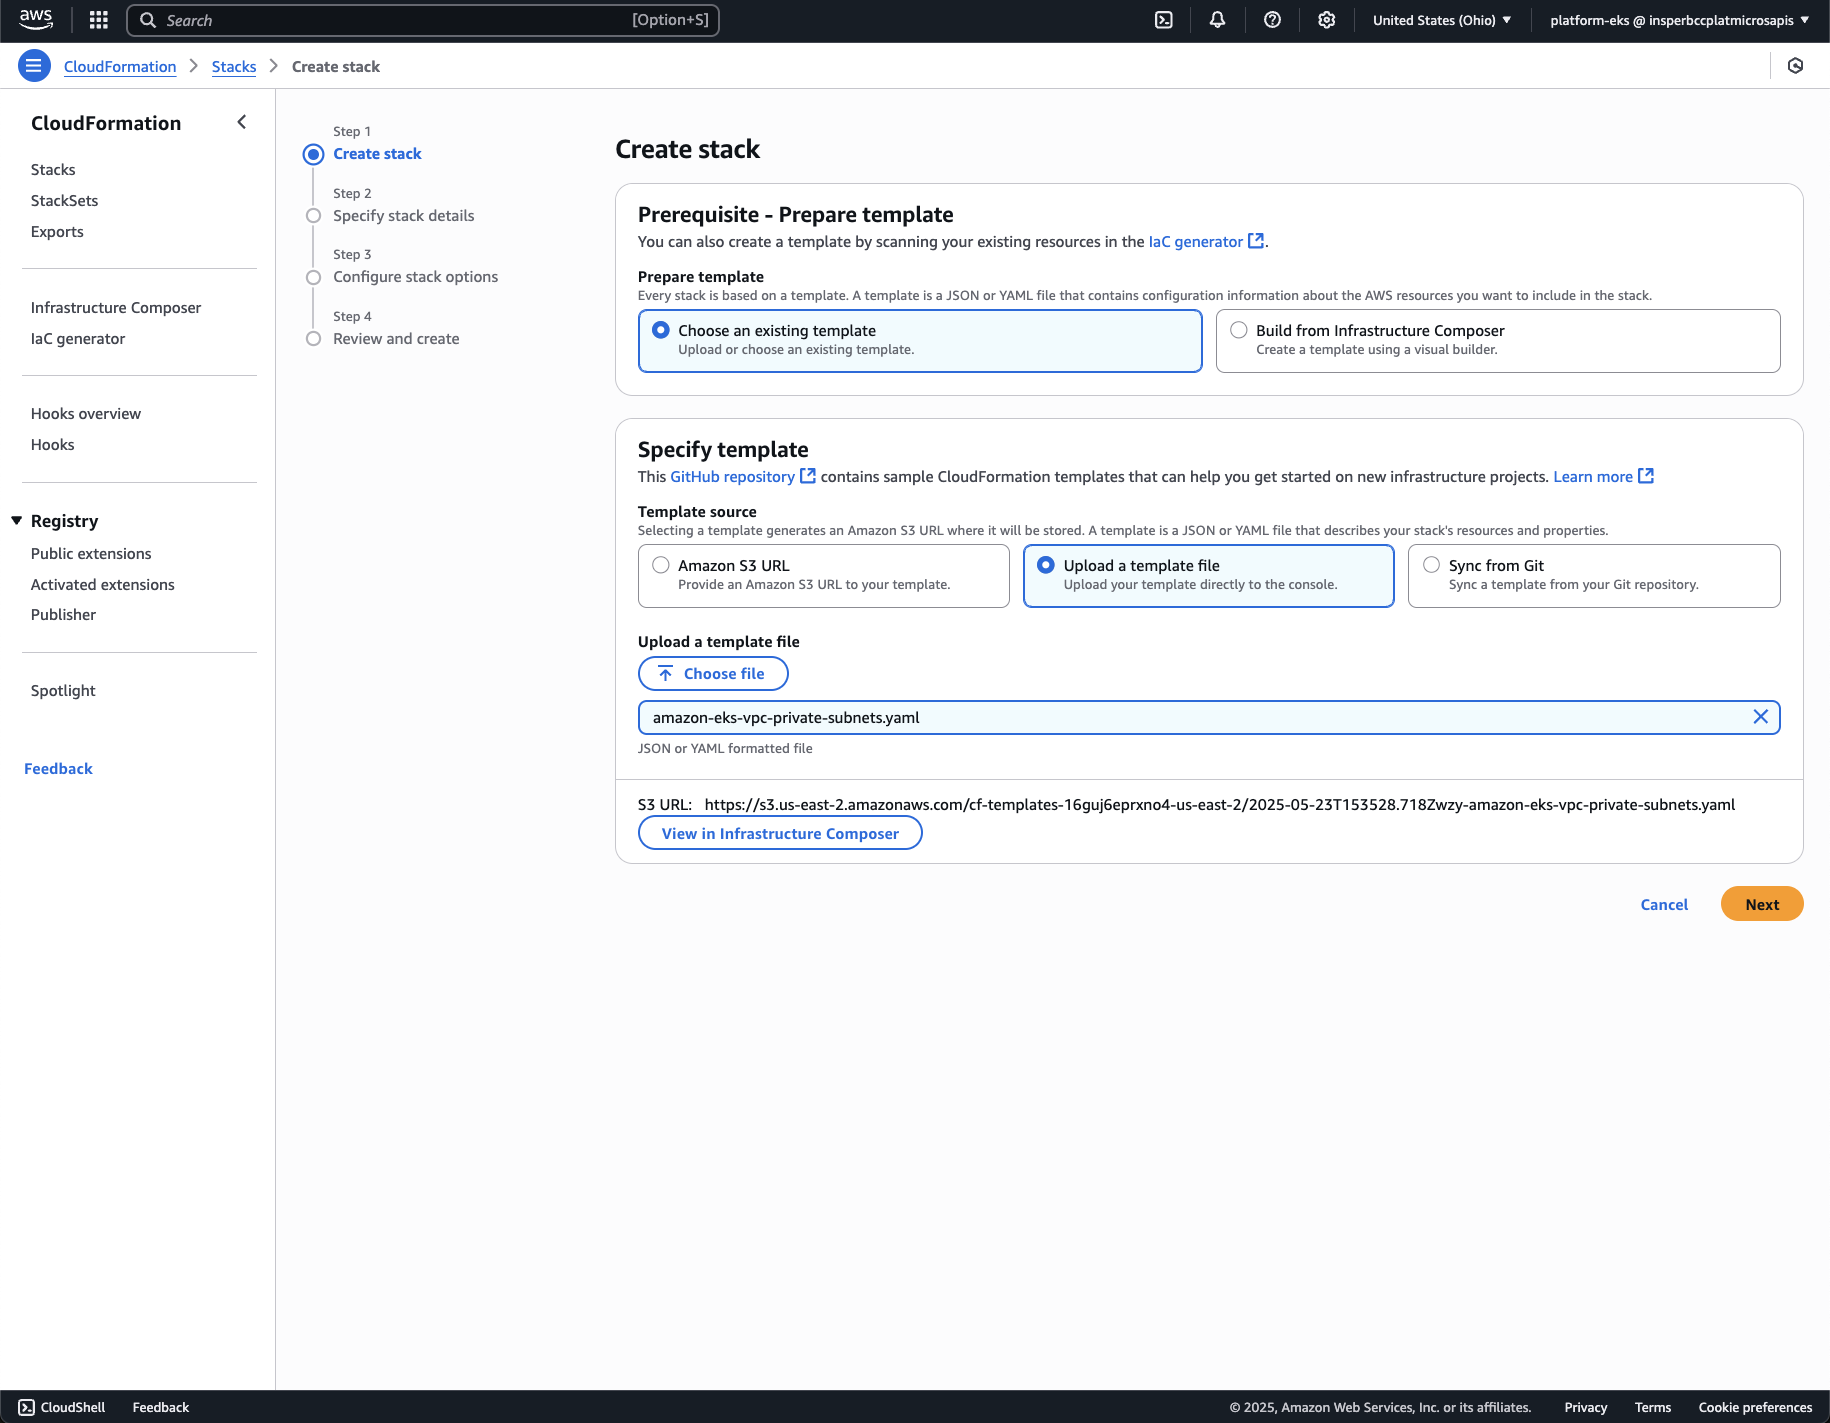
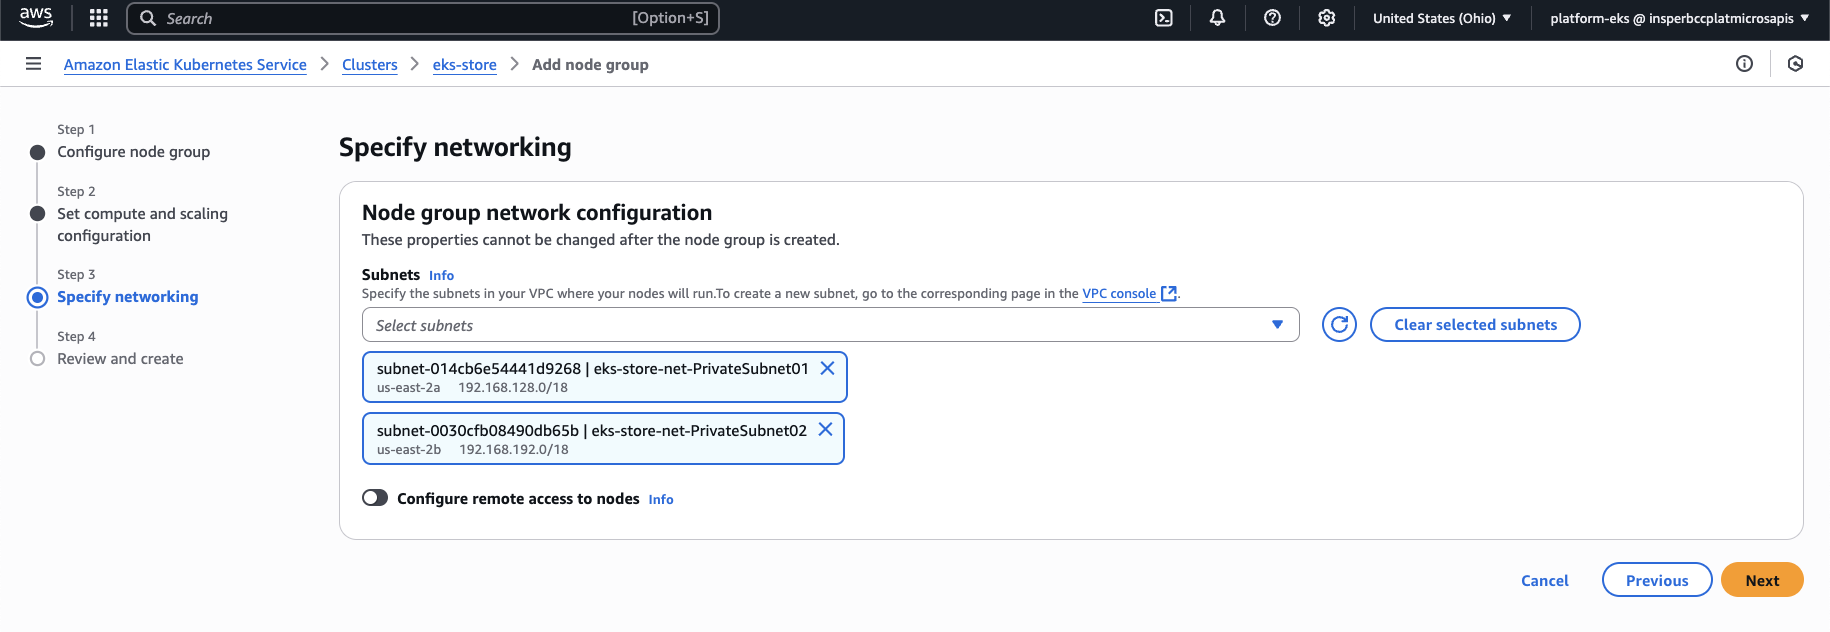
Create a VPC with the following configuration, including 2 public and 2 private subnets. The public subnets will be used for the load balancers, and the private subnets will be used for the pods. The VPC should be created in the same region as the EKS cluster.
To create the VPC, use the AWS CloudFormation with the template file: amazon-eks-vpc-private-subnets.yaml (download it and upload it as a CloudFormation template).
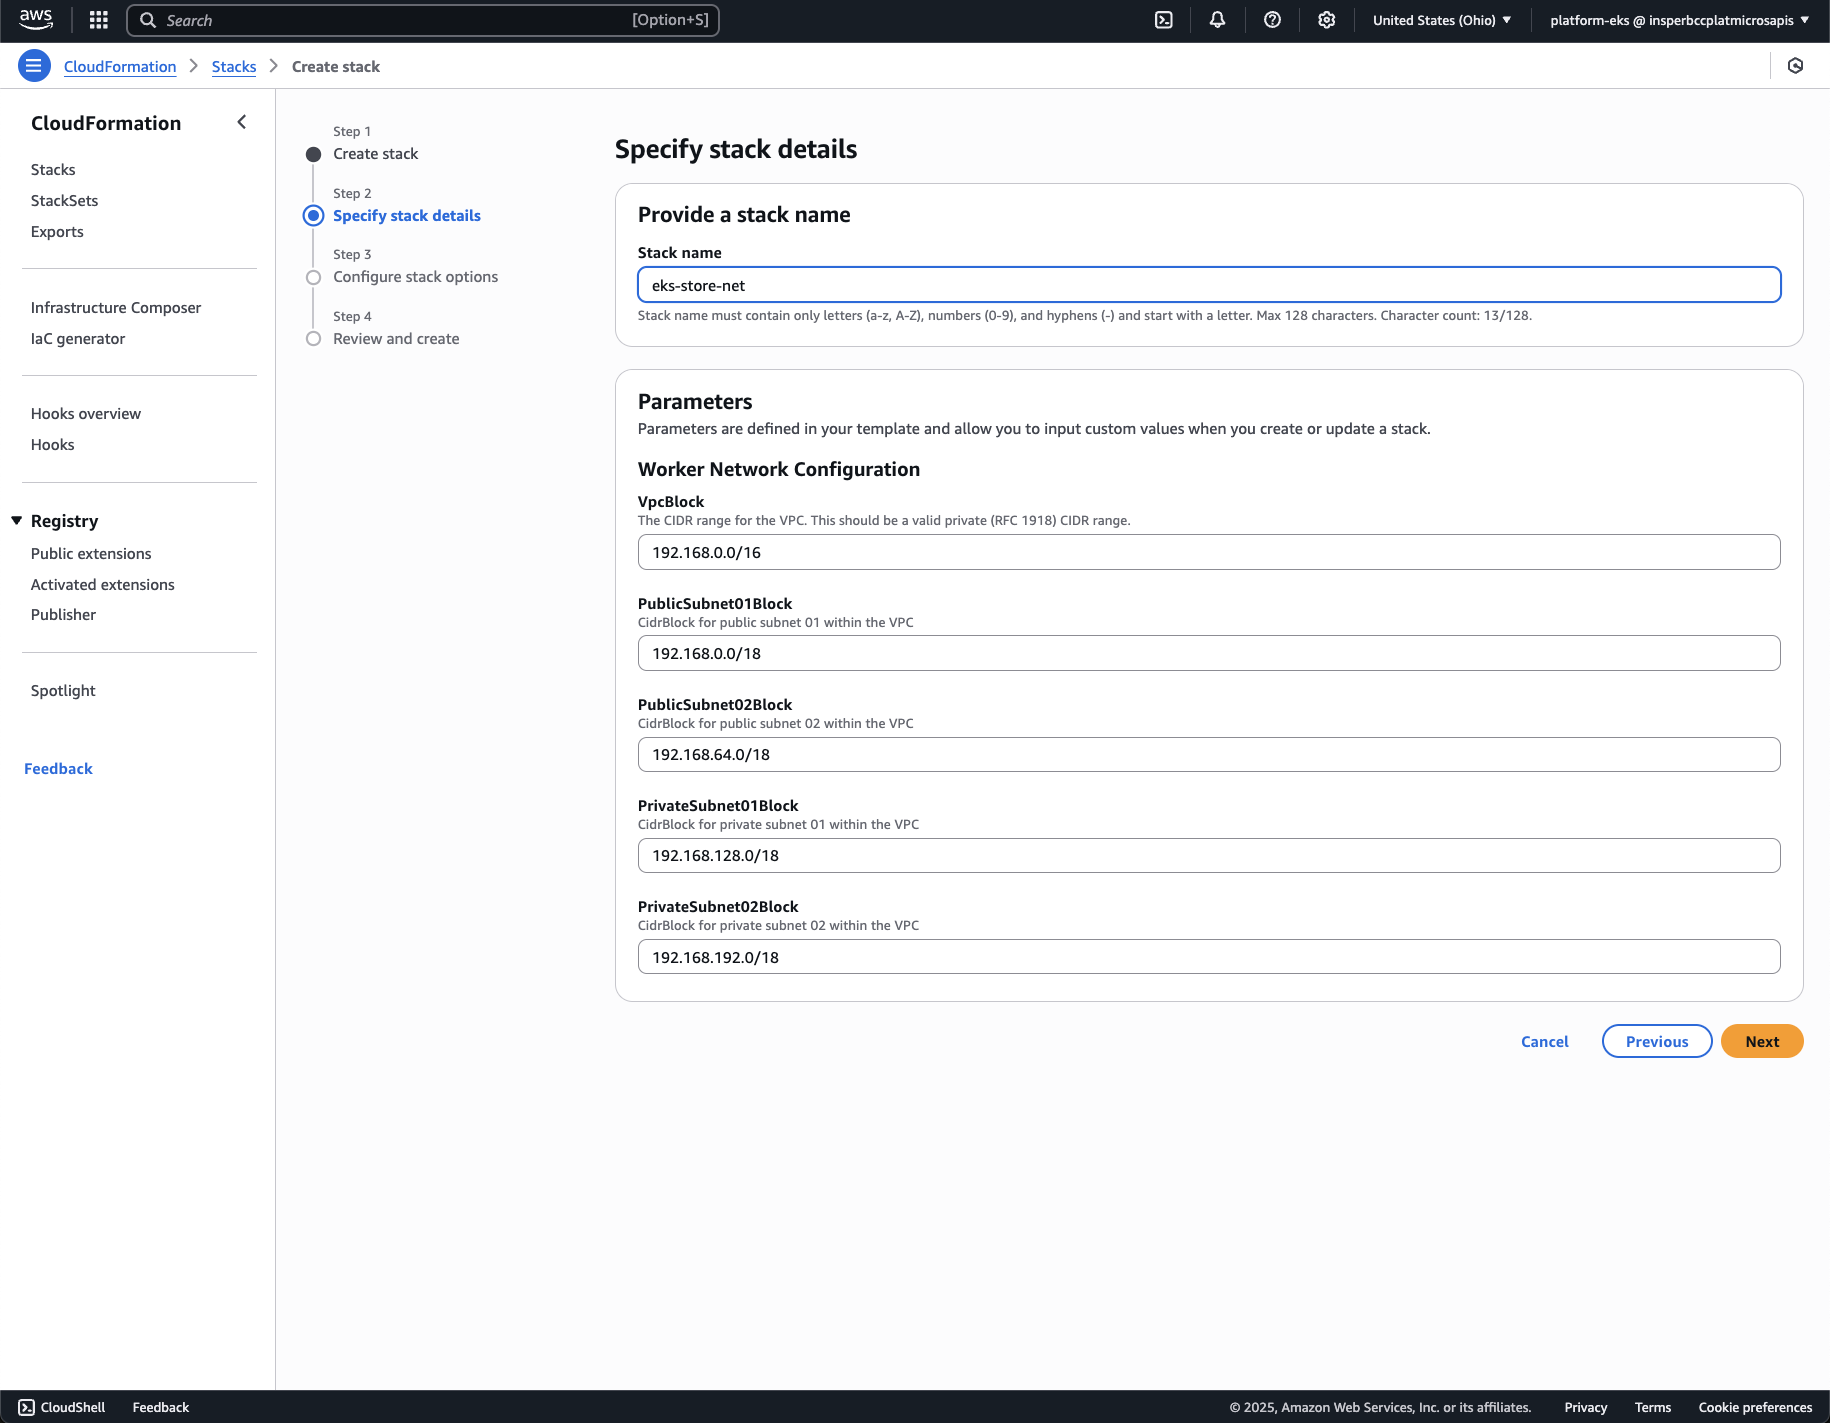
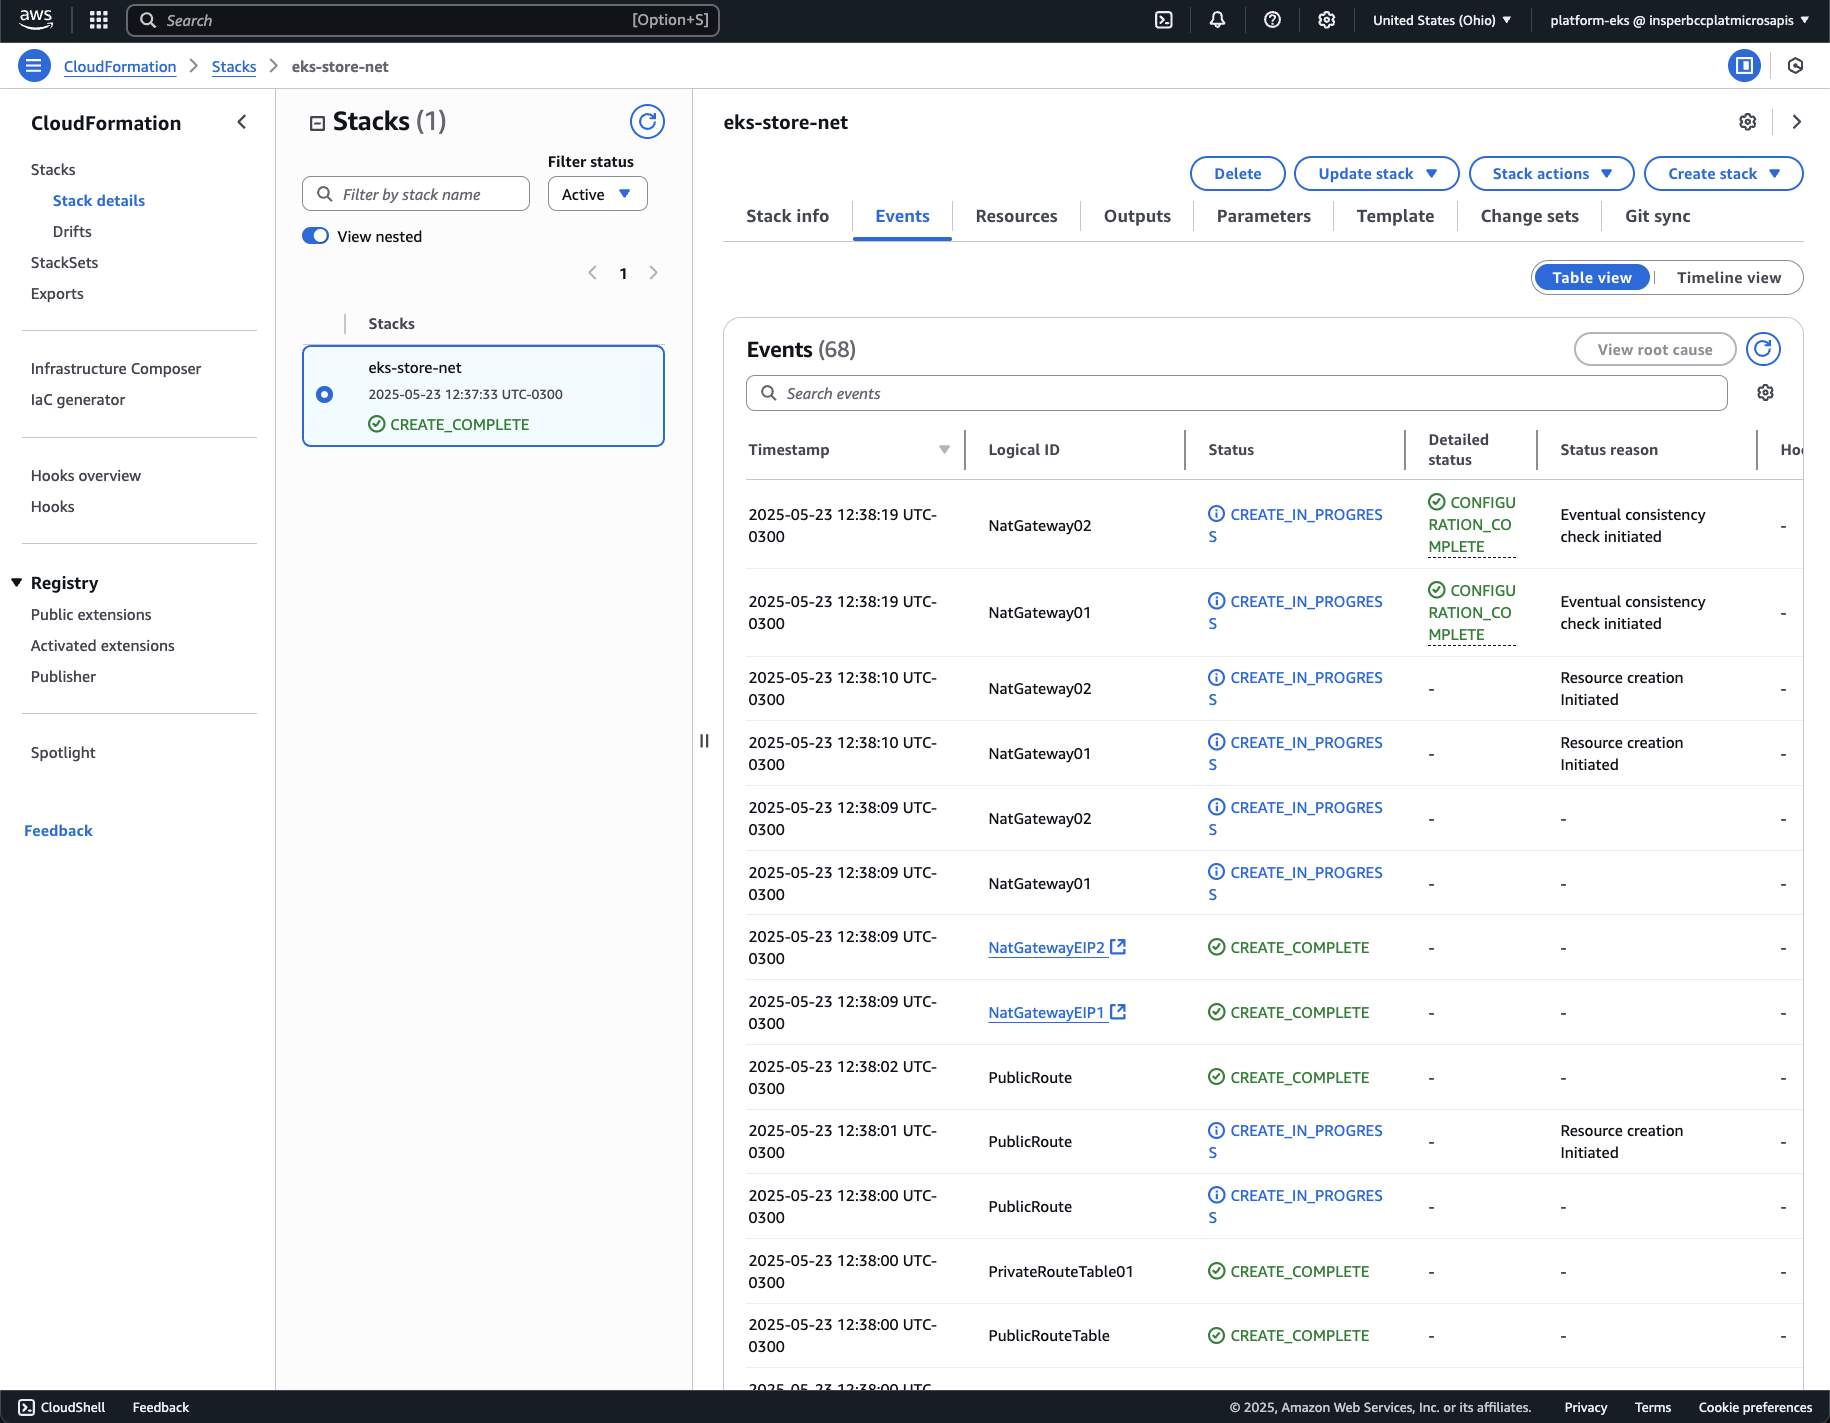
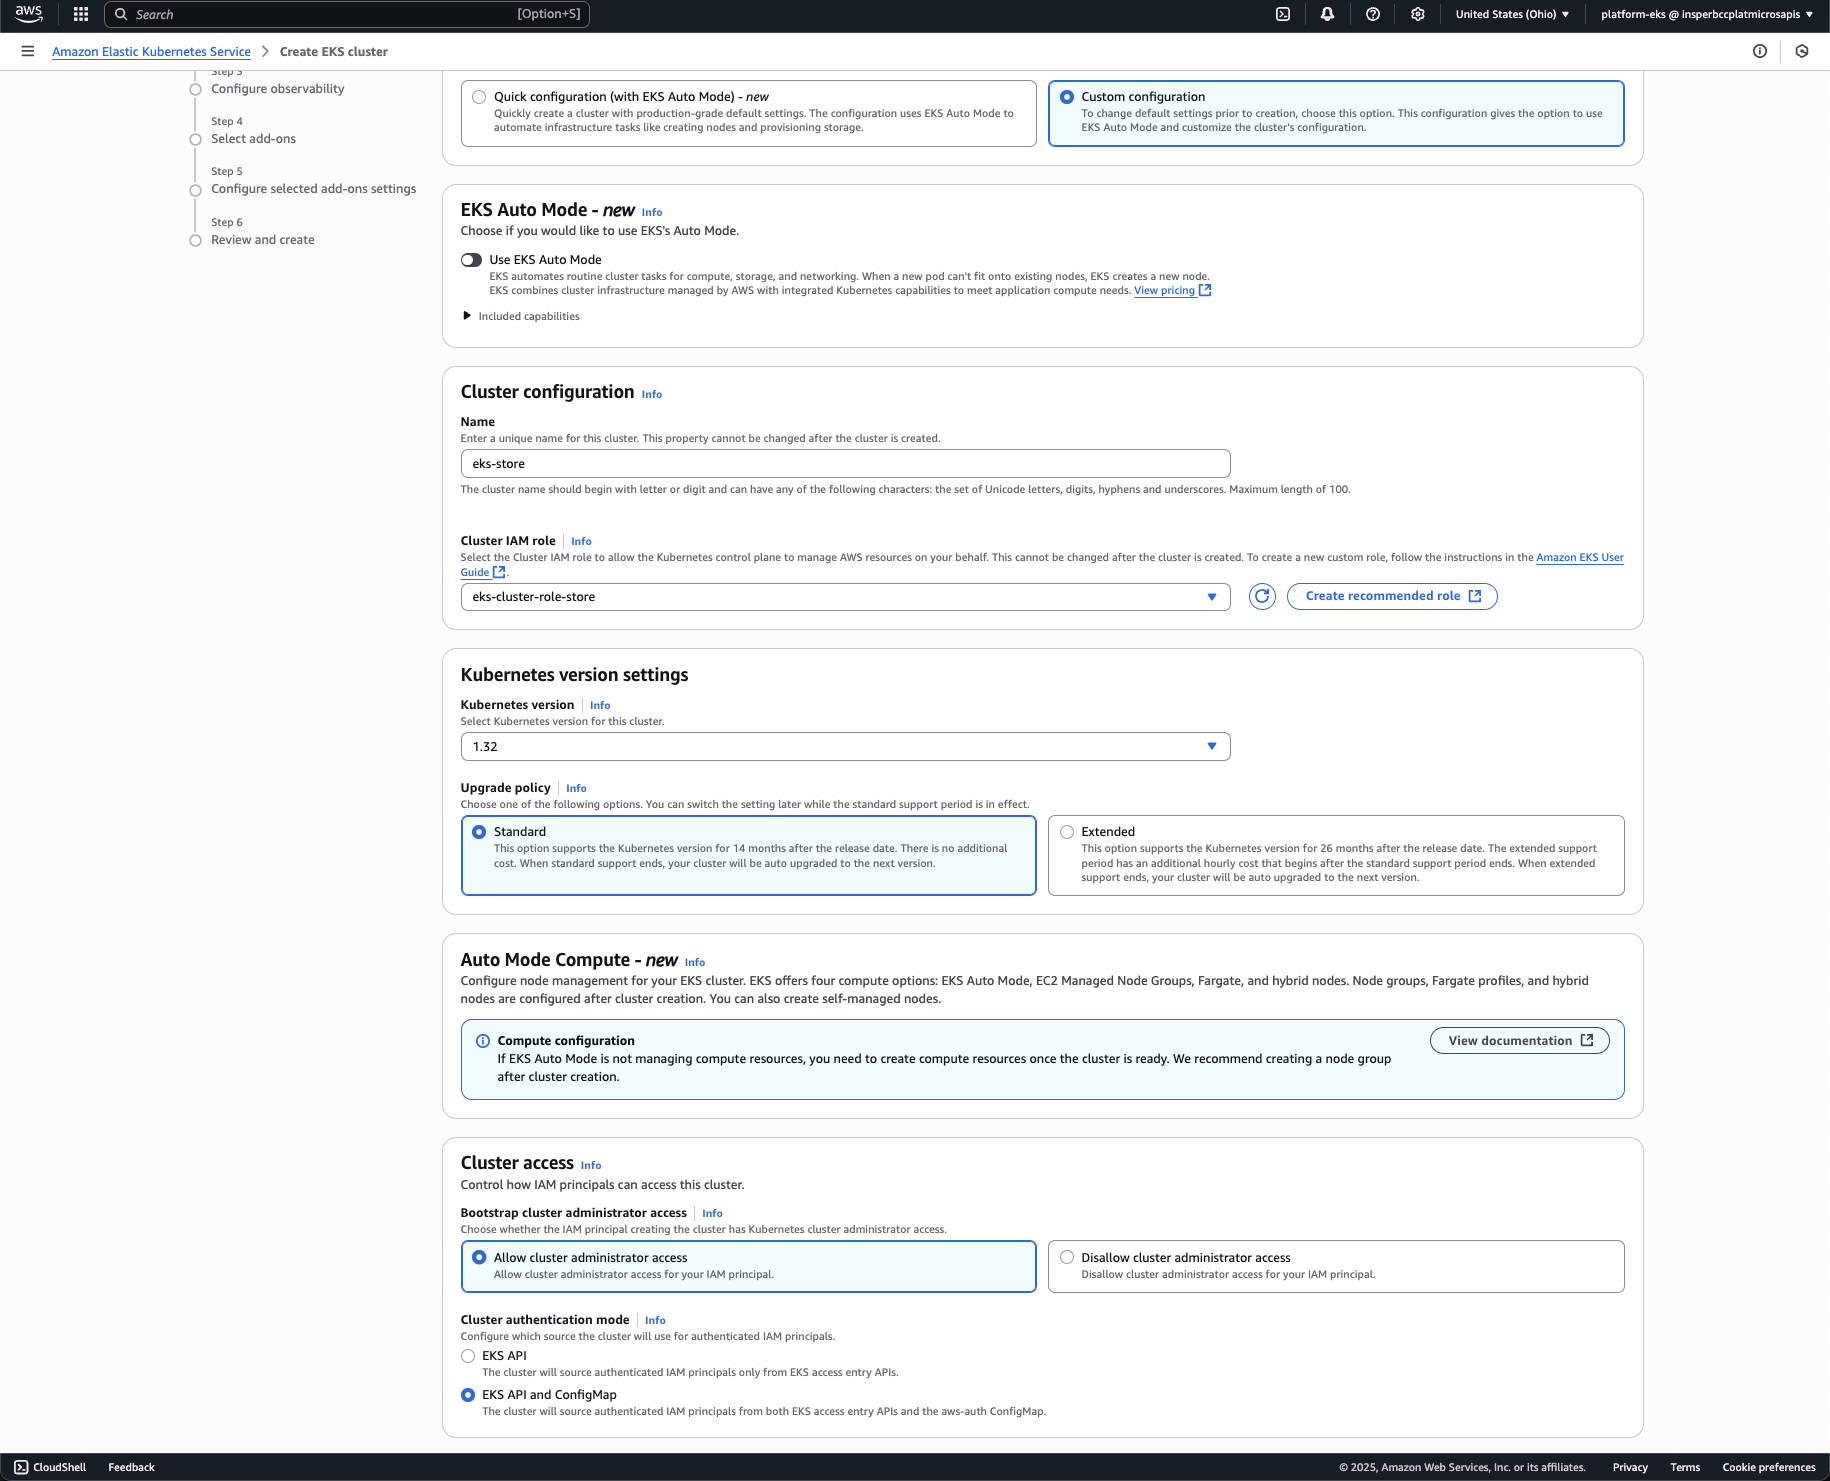
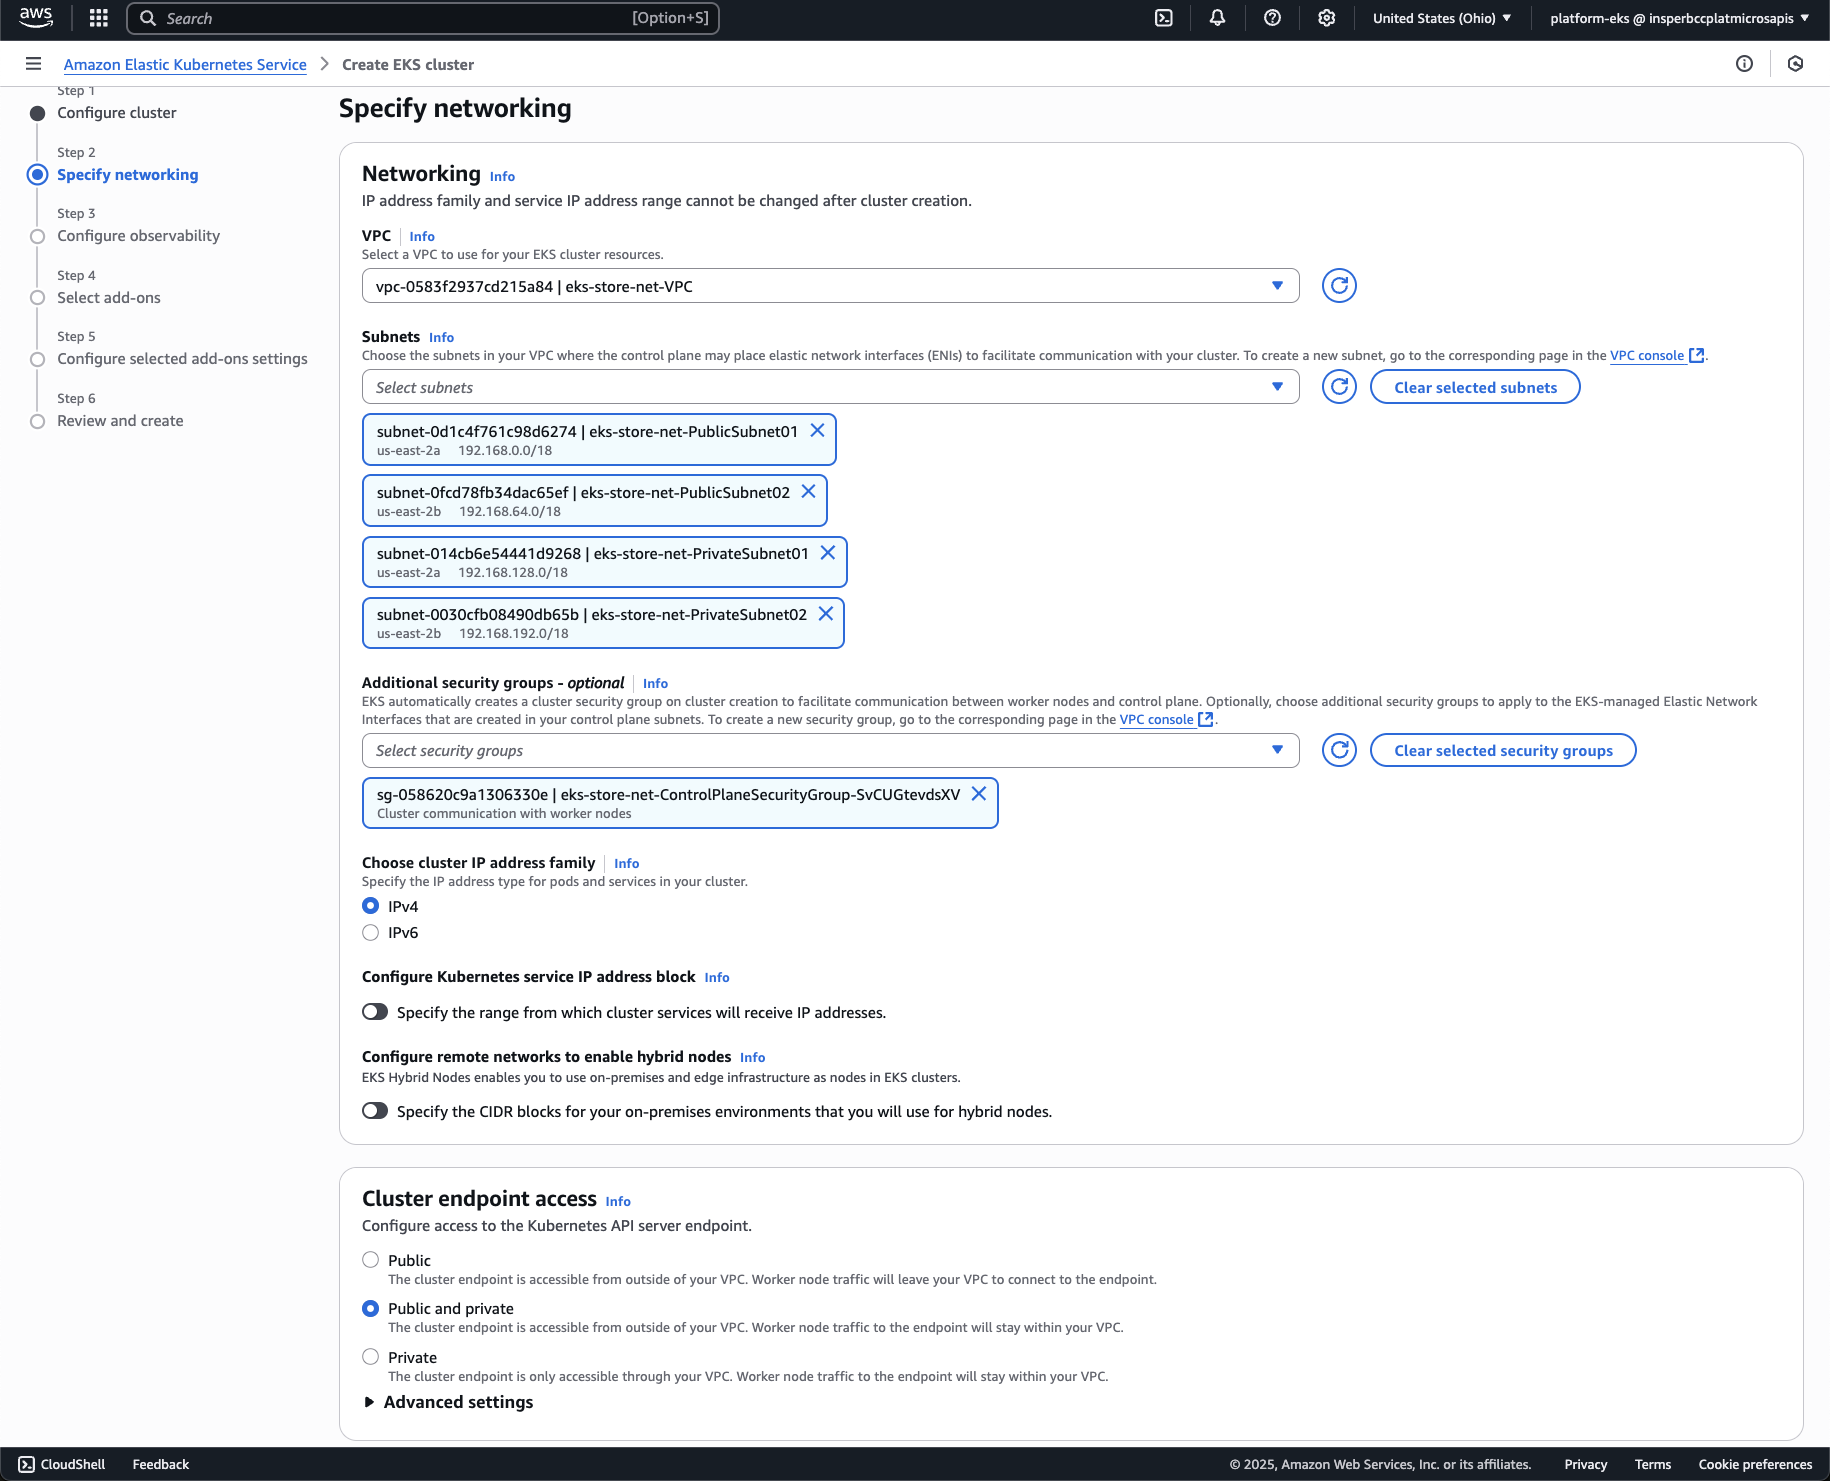
Pay Attention
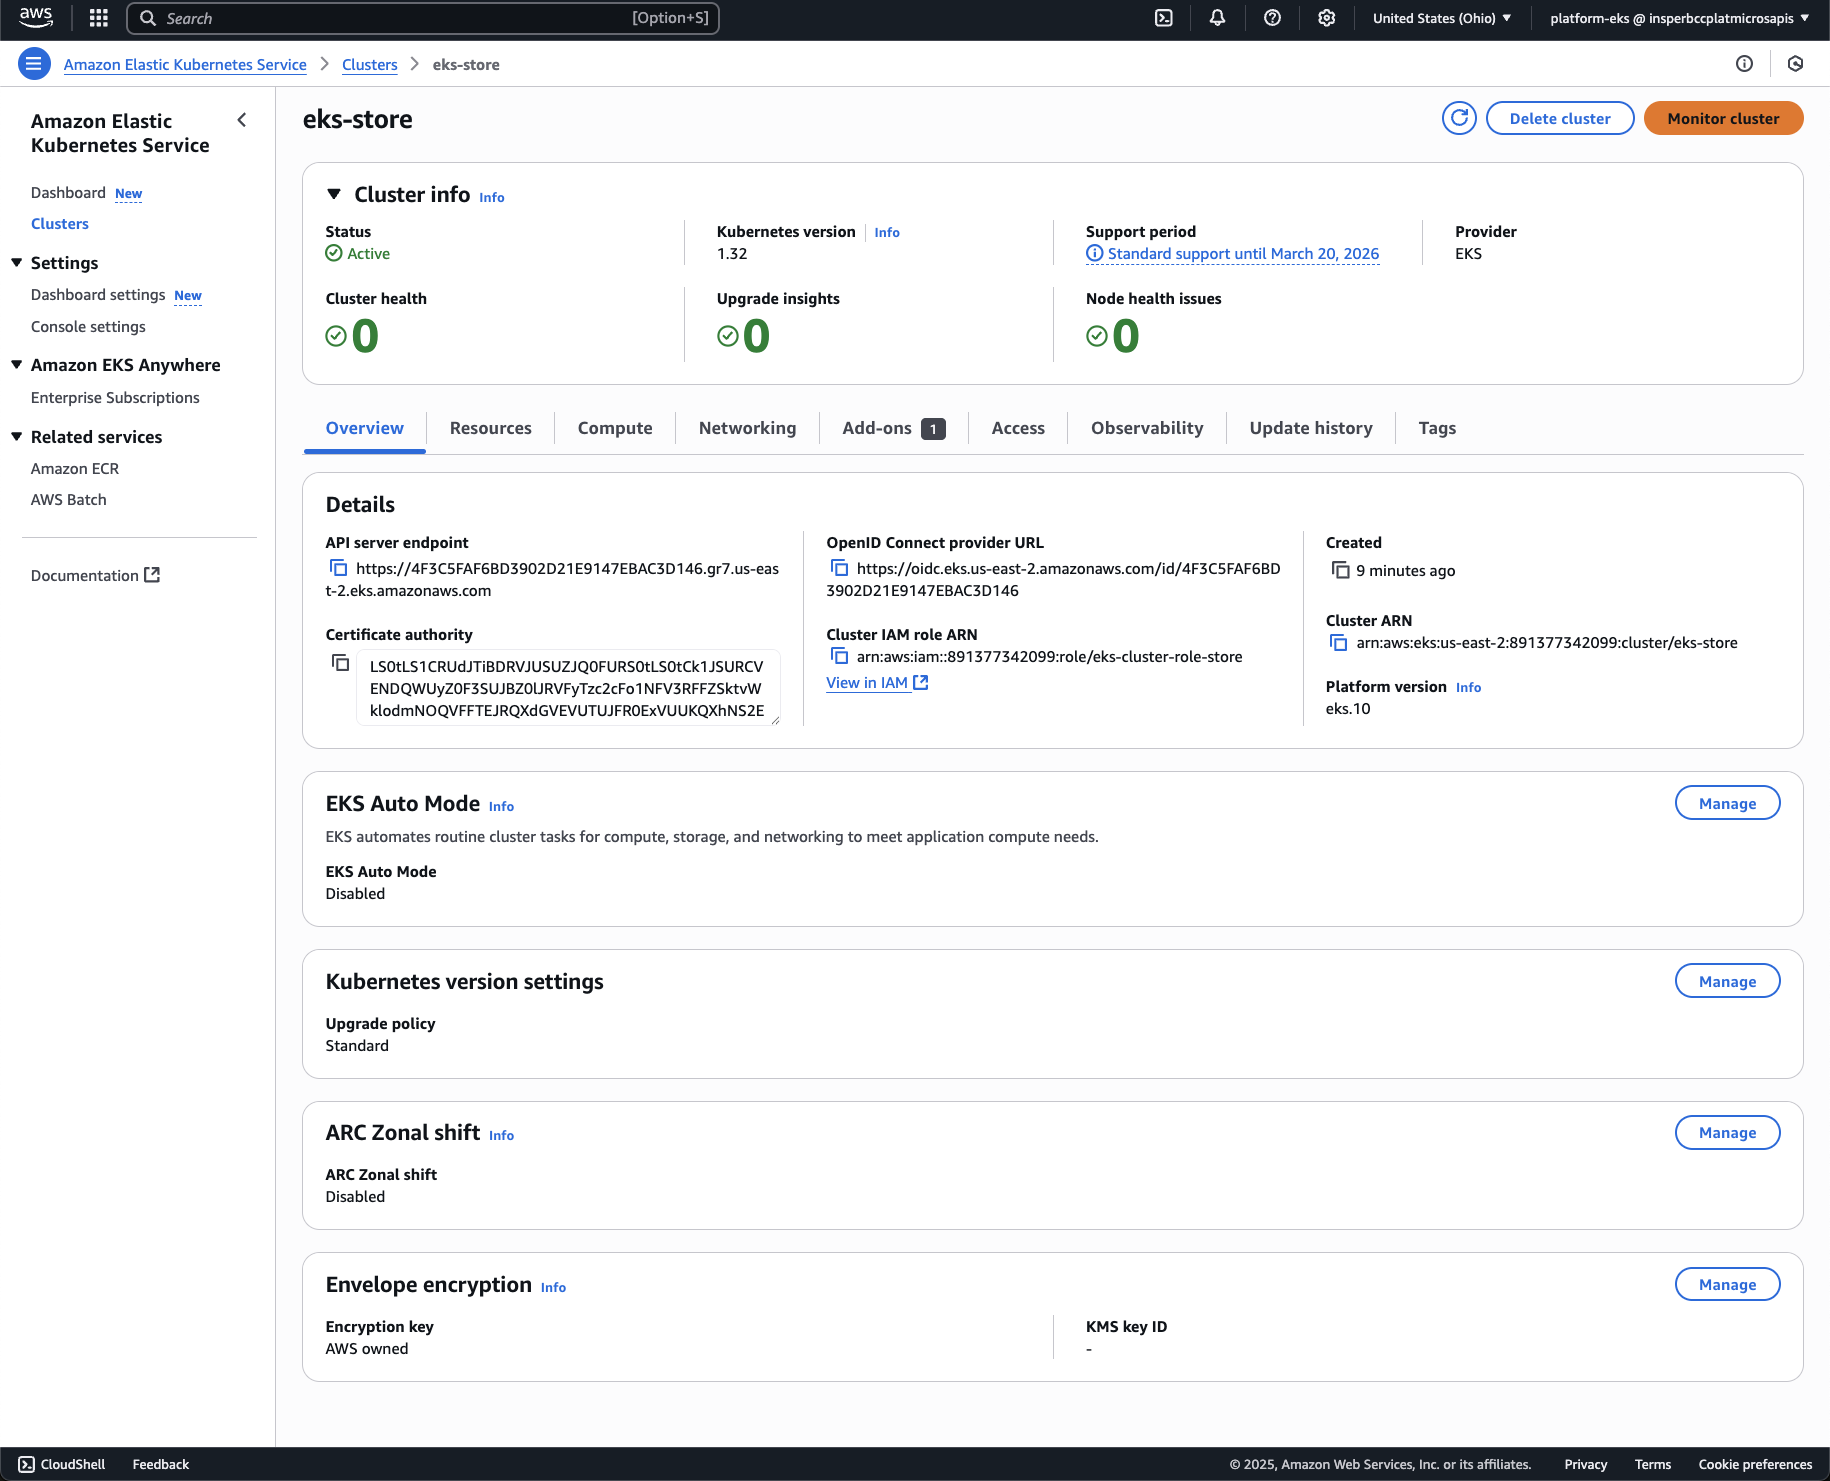
The EKS cluster will take a few minutes to be created. You can check the status of the cluster in the AWS console. Once the cluster is created, you can access it using the AWS CLI or kubectl.
Notice that there no nodes on cluster also, because only the Control Pane had been created, there is no exist a node for the worker nodes.
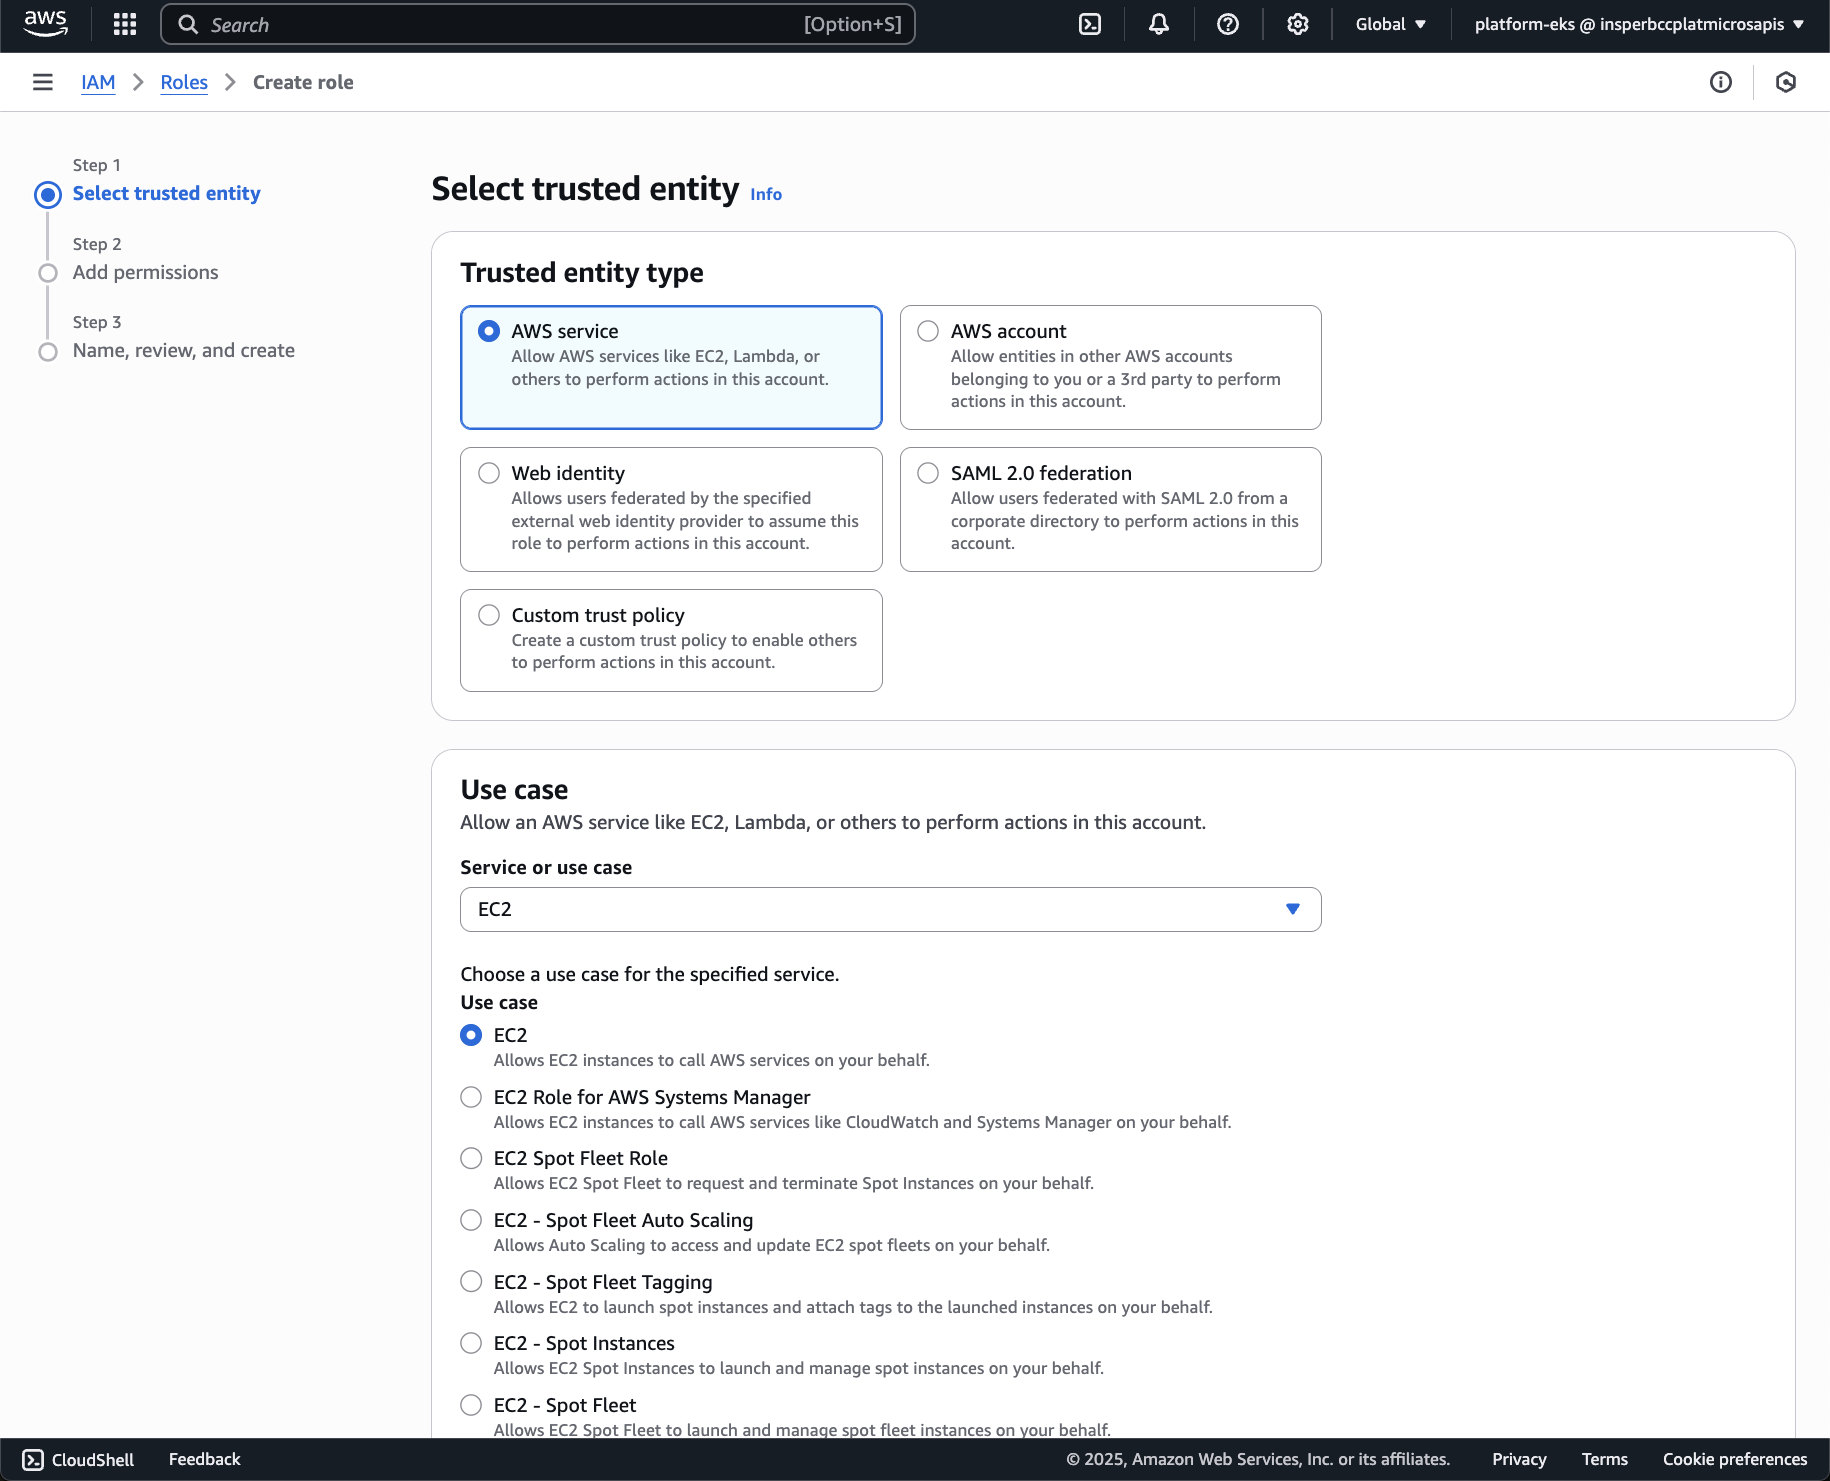
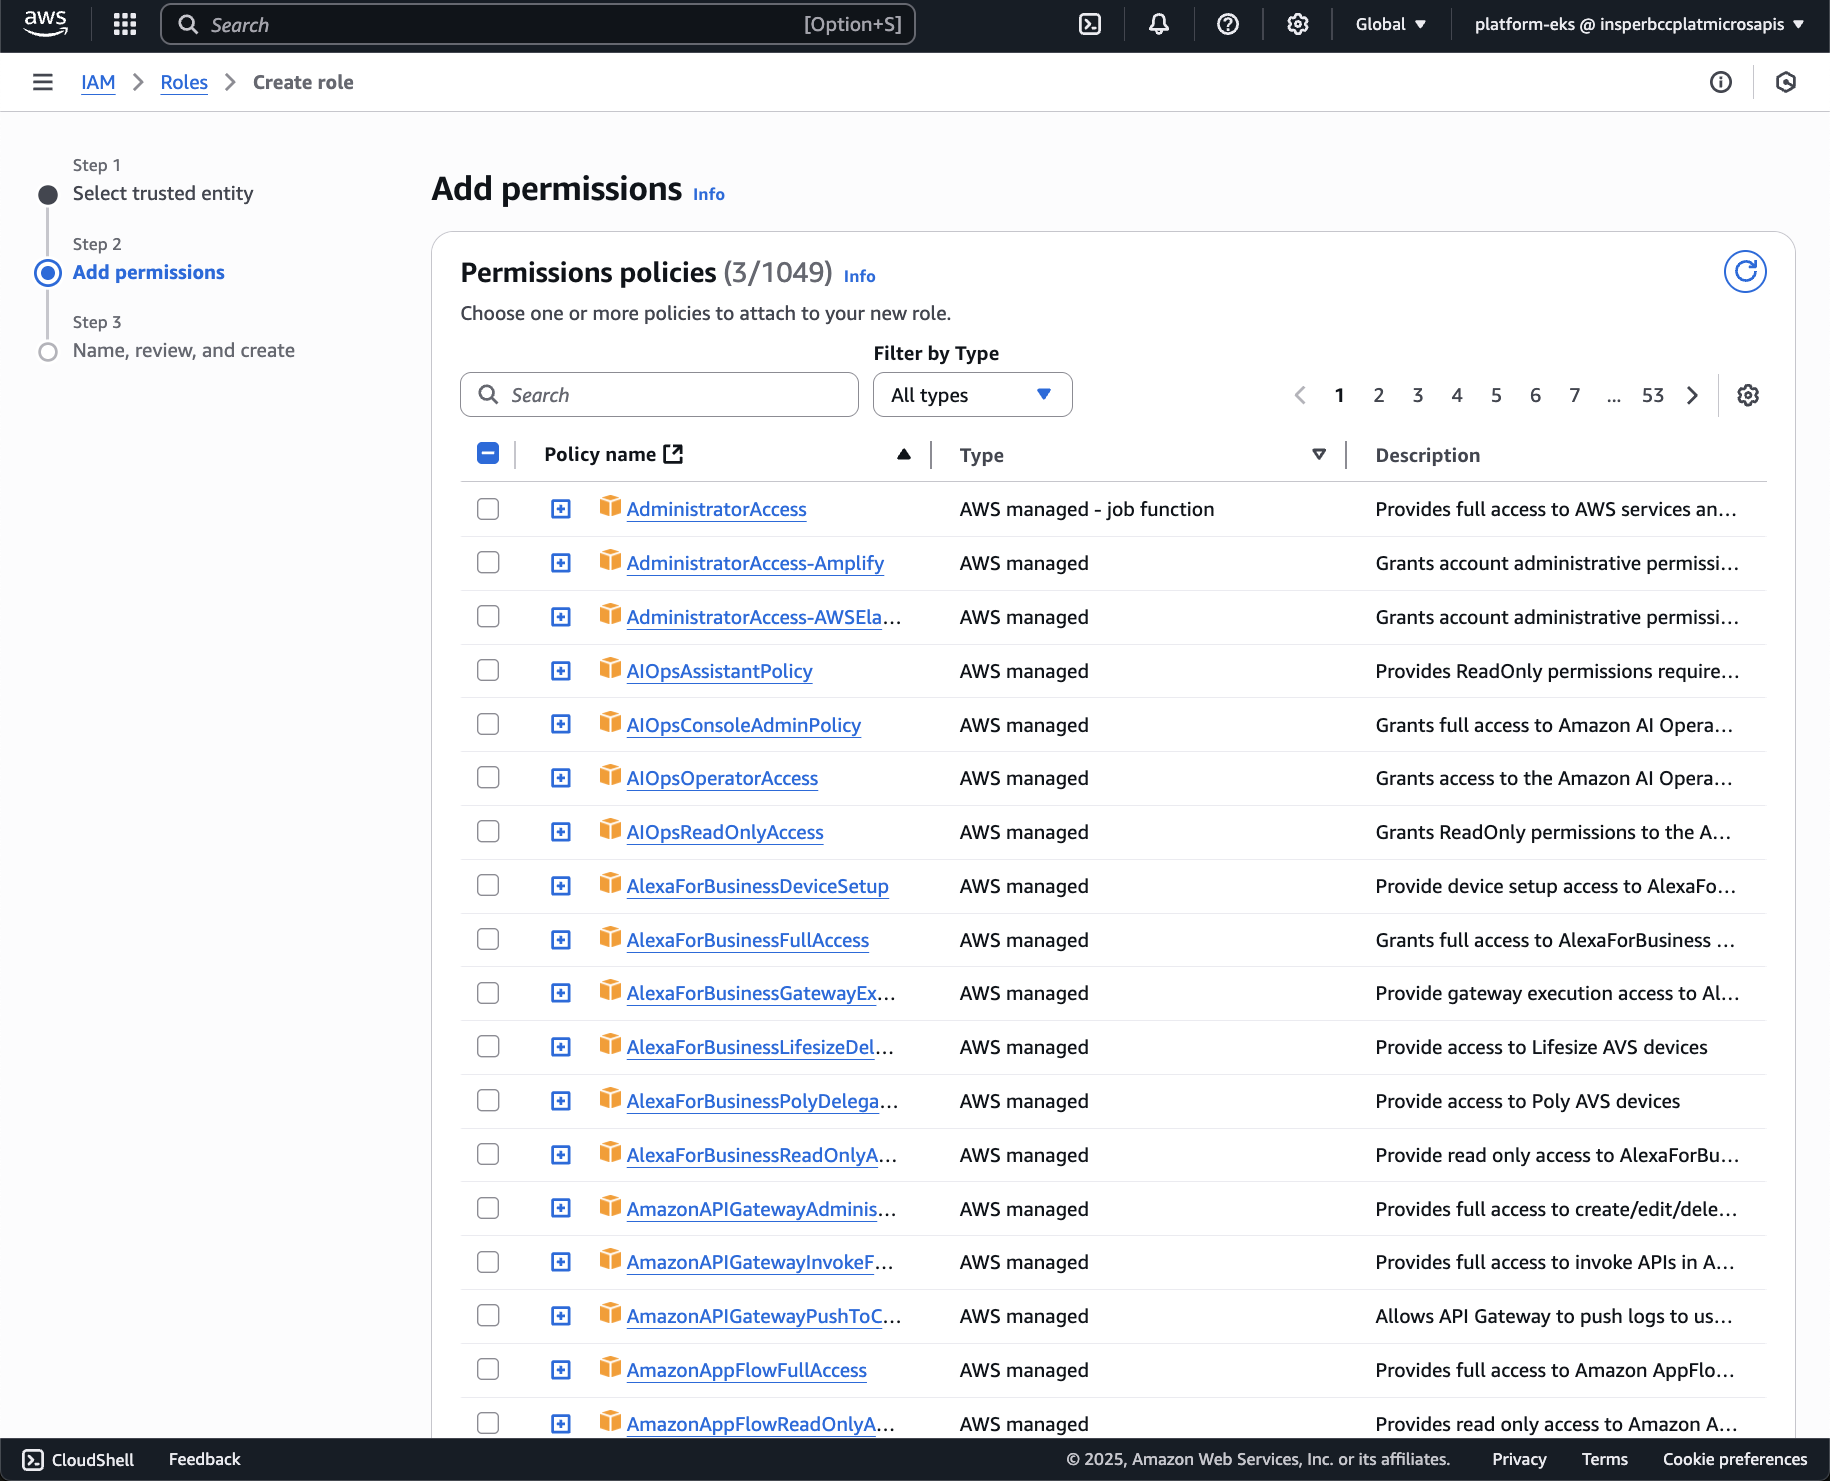
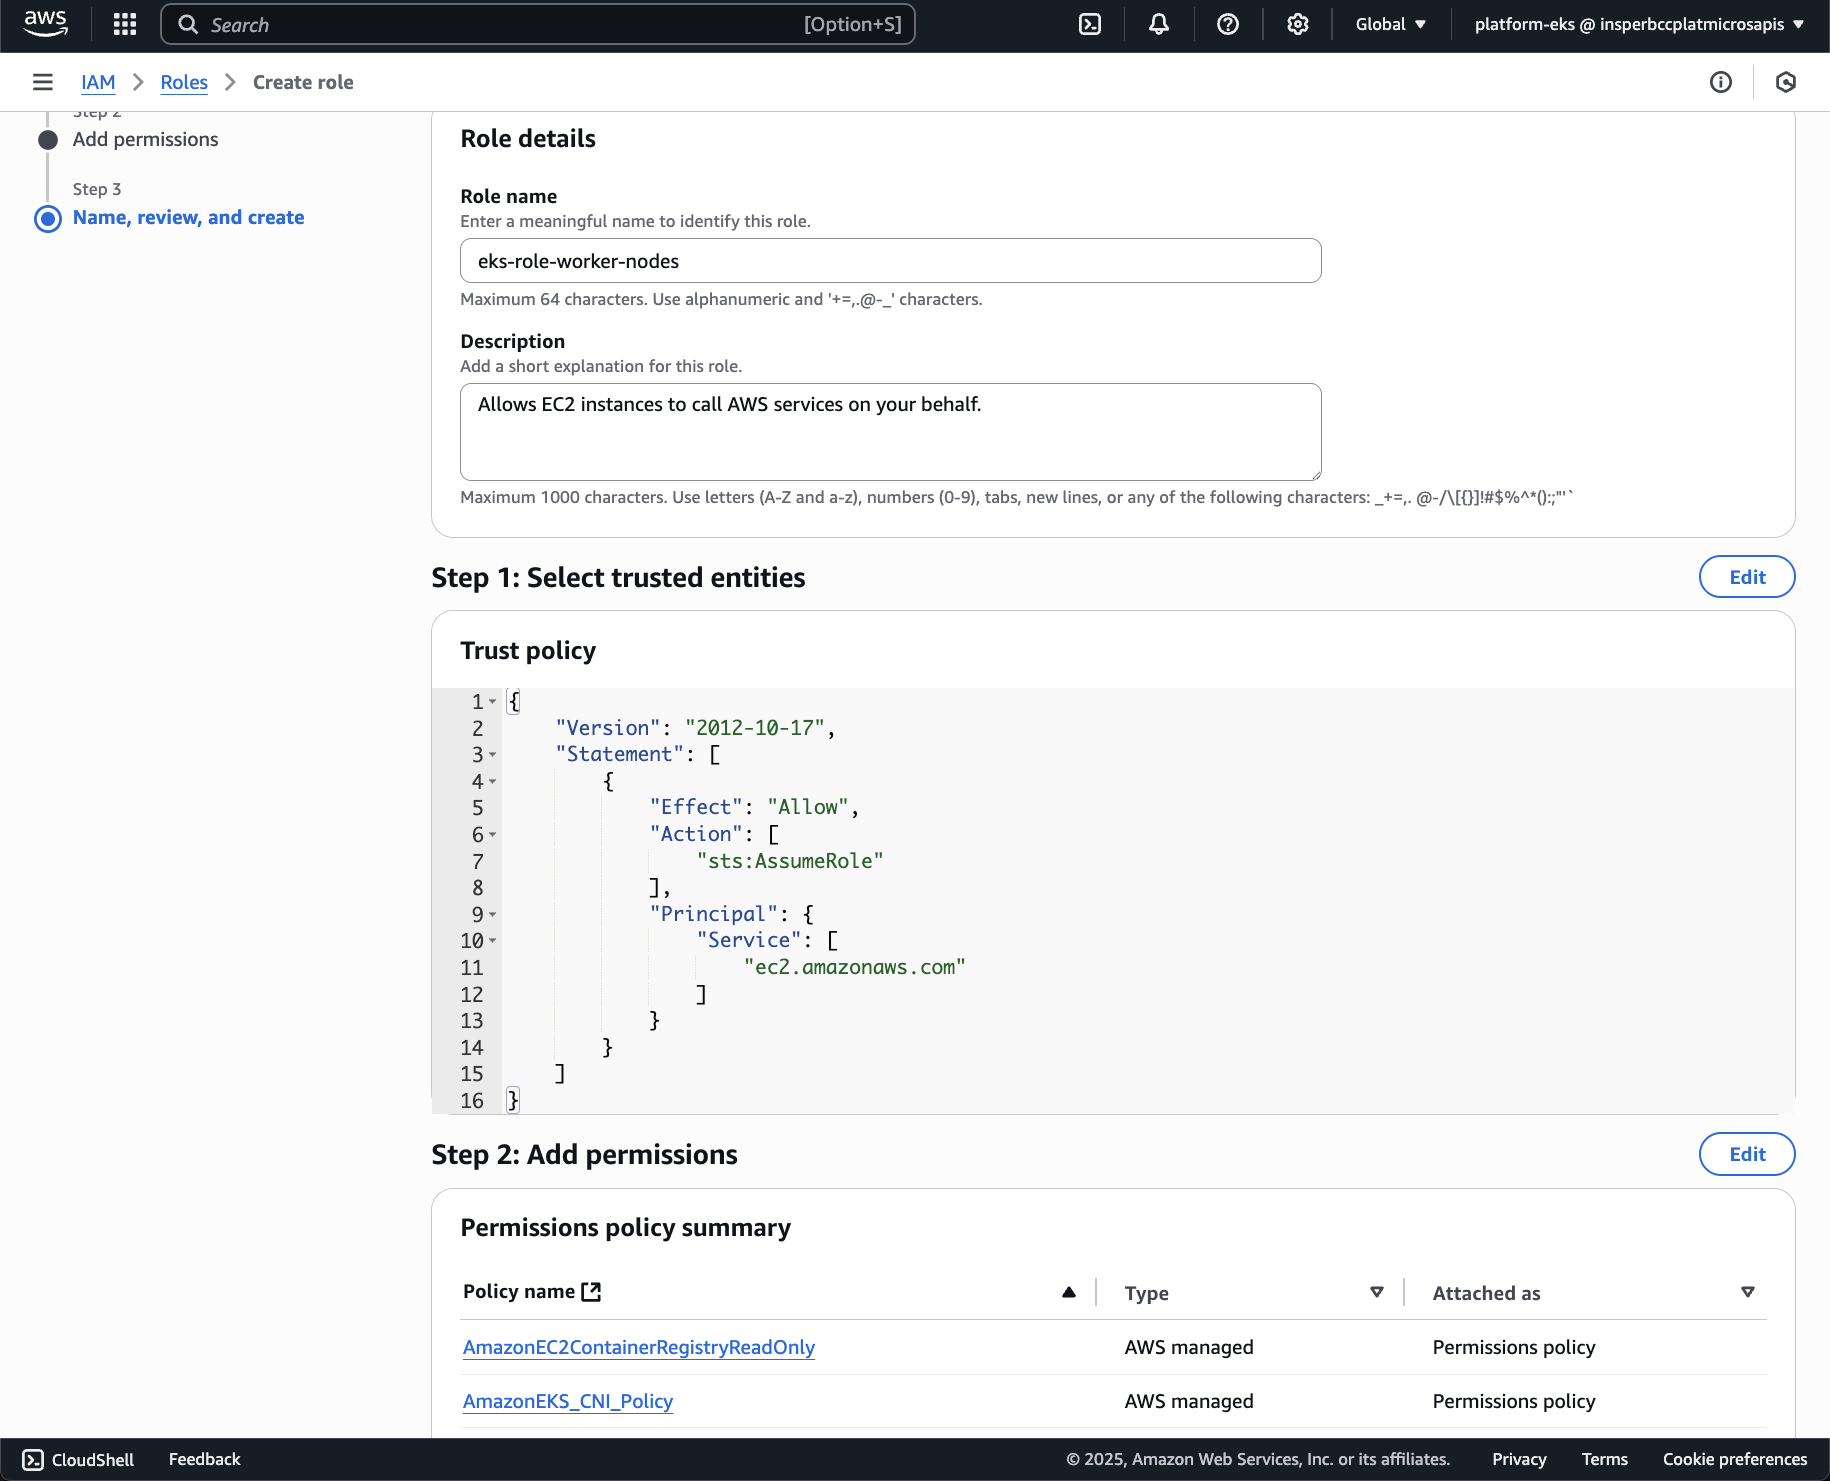
Add Permissions to the role:
- AmazonEKS_CNI_Policy
- AmazonEKSWorkerNodePolicy
- AmazonEC2ContainerRegistryReadOnly
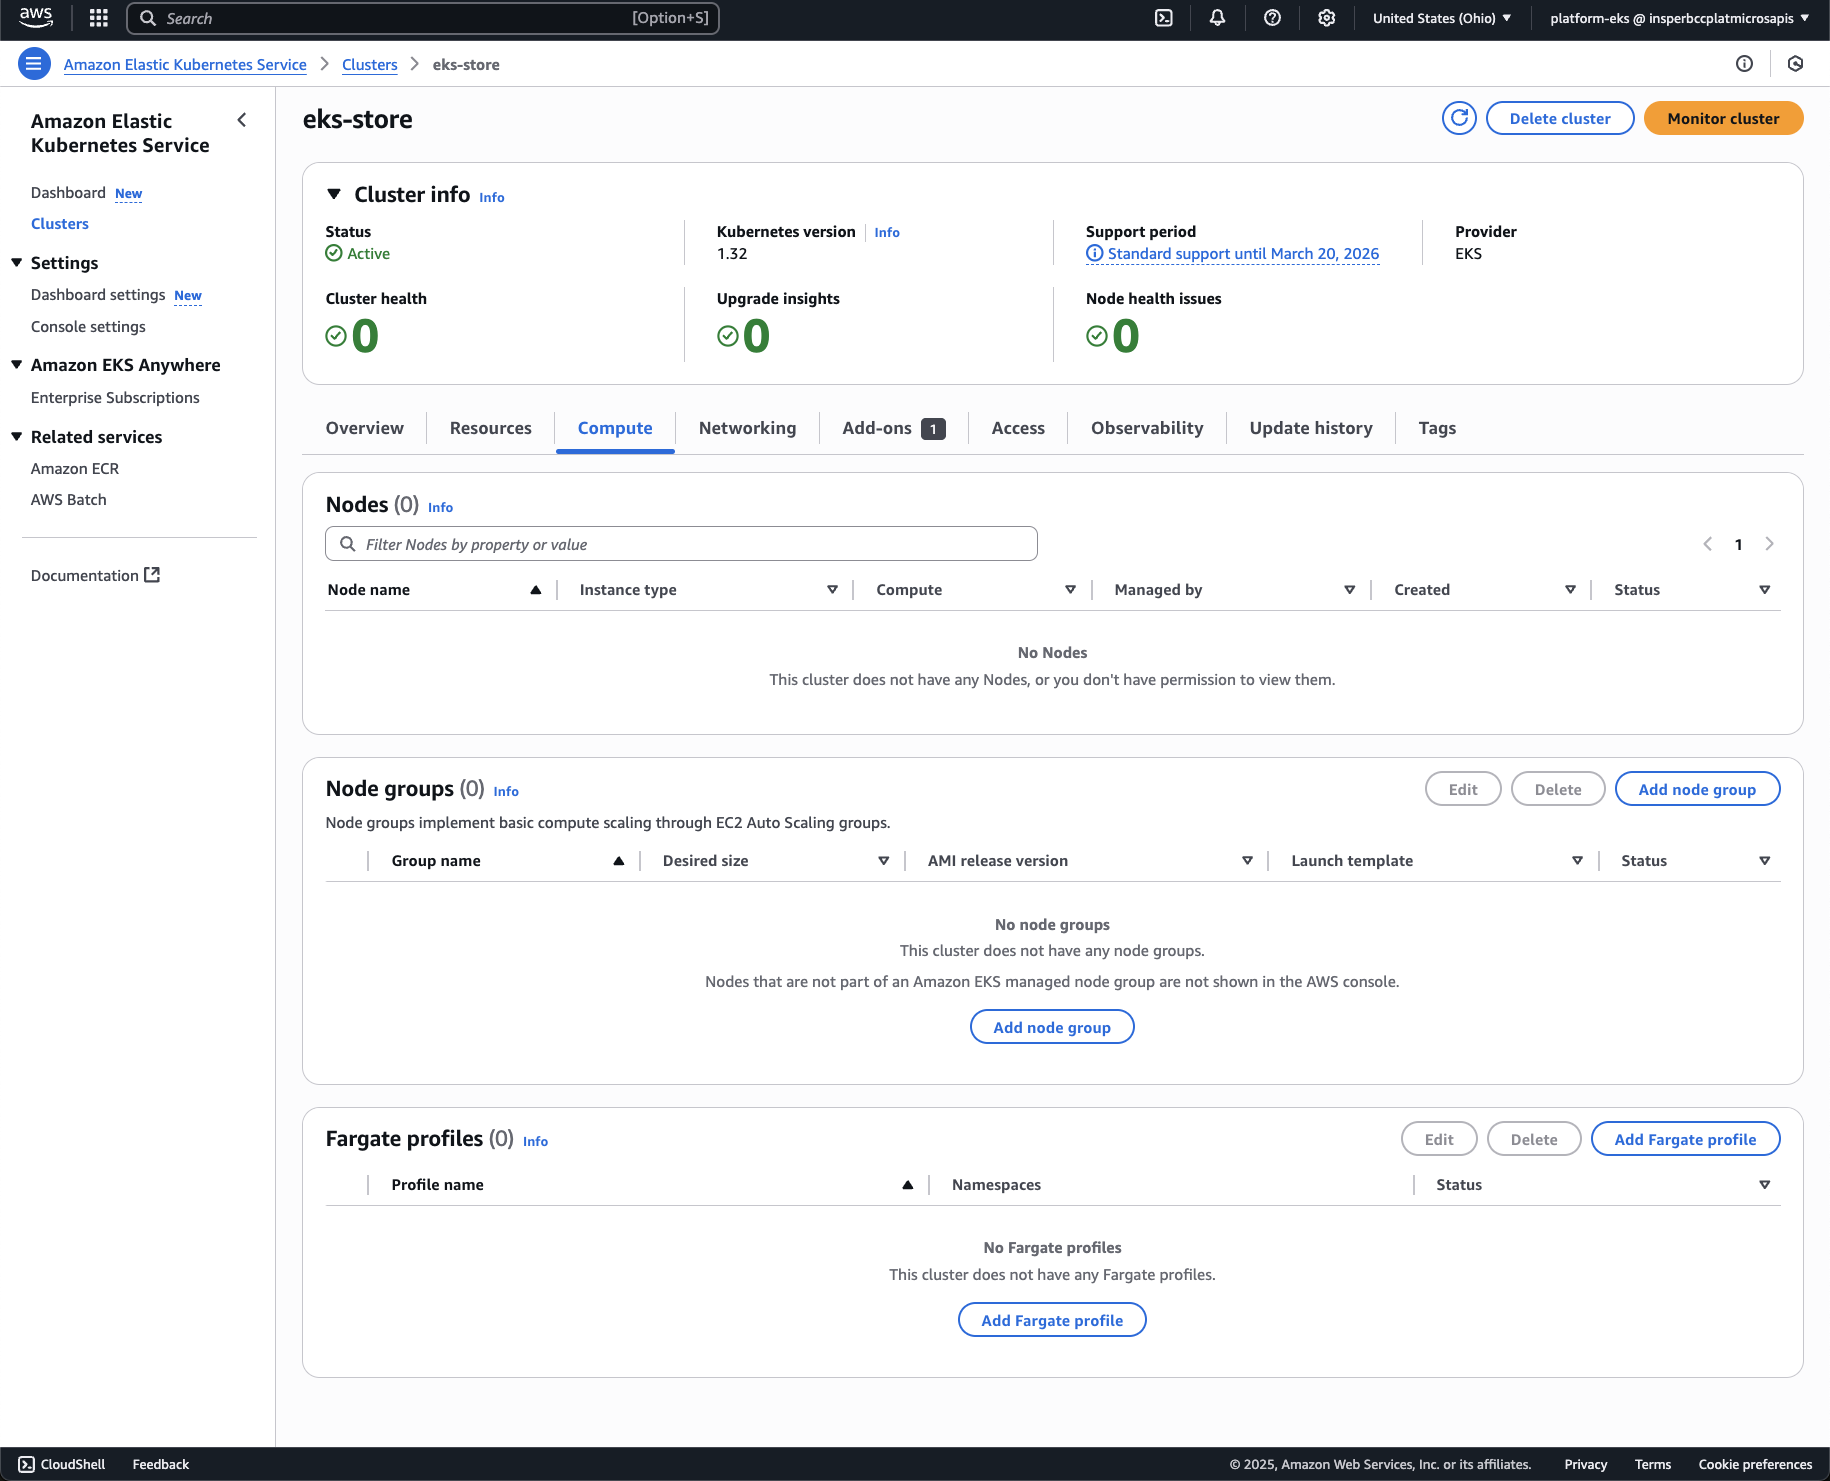
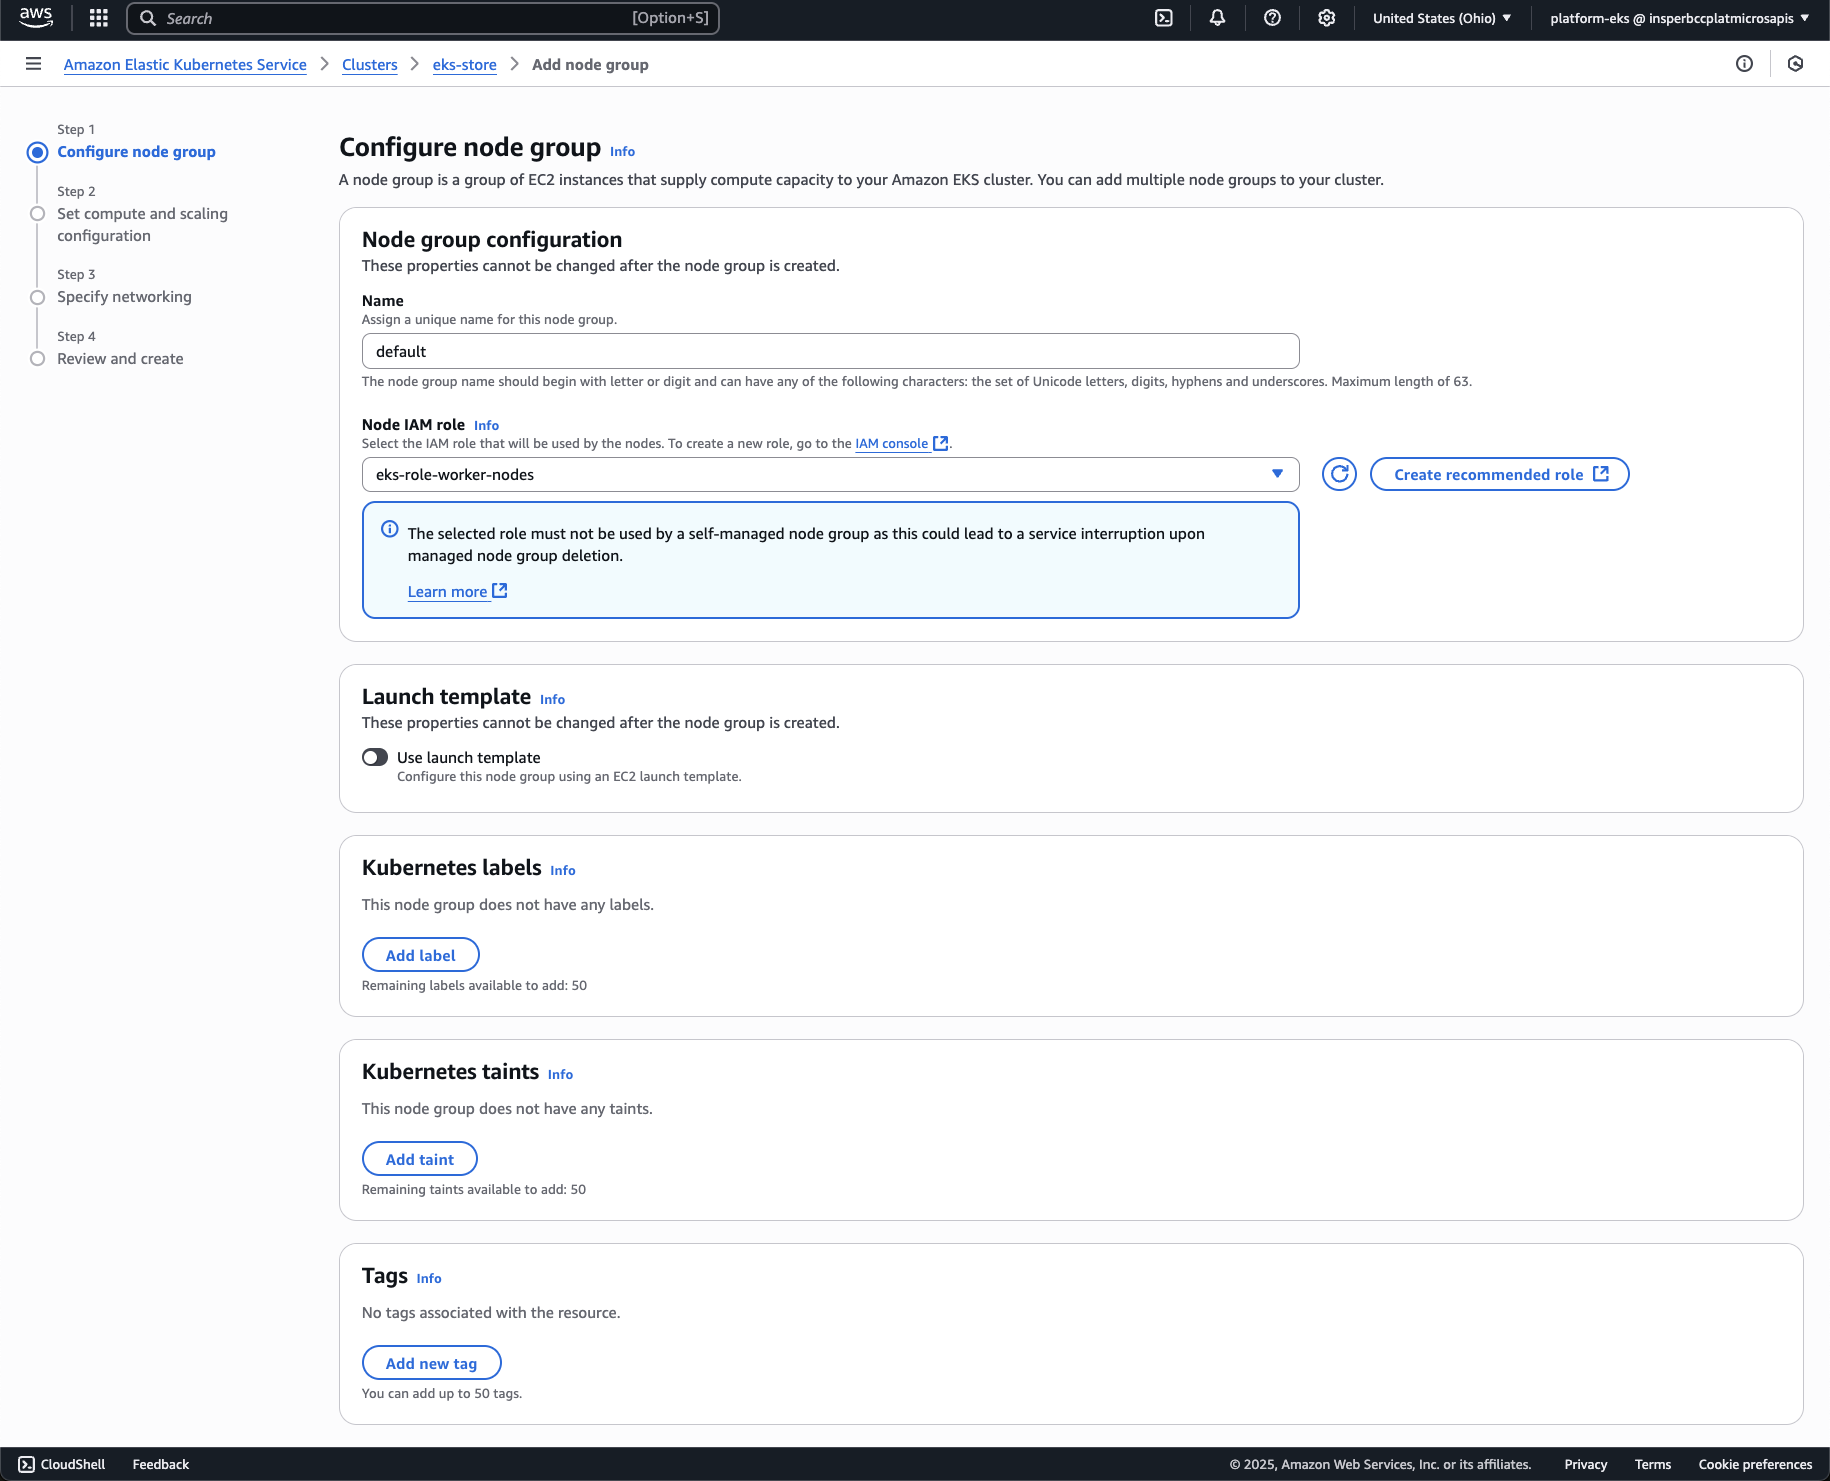
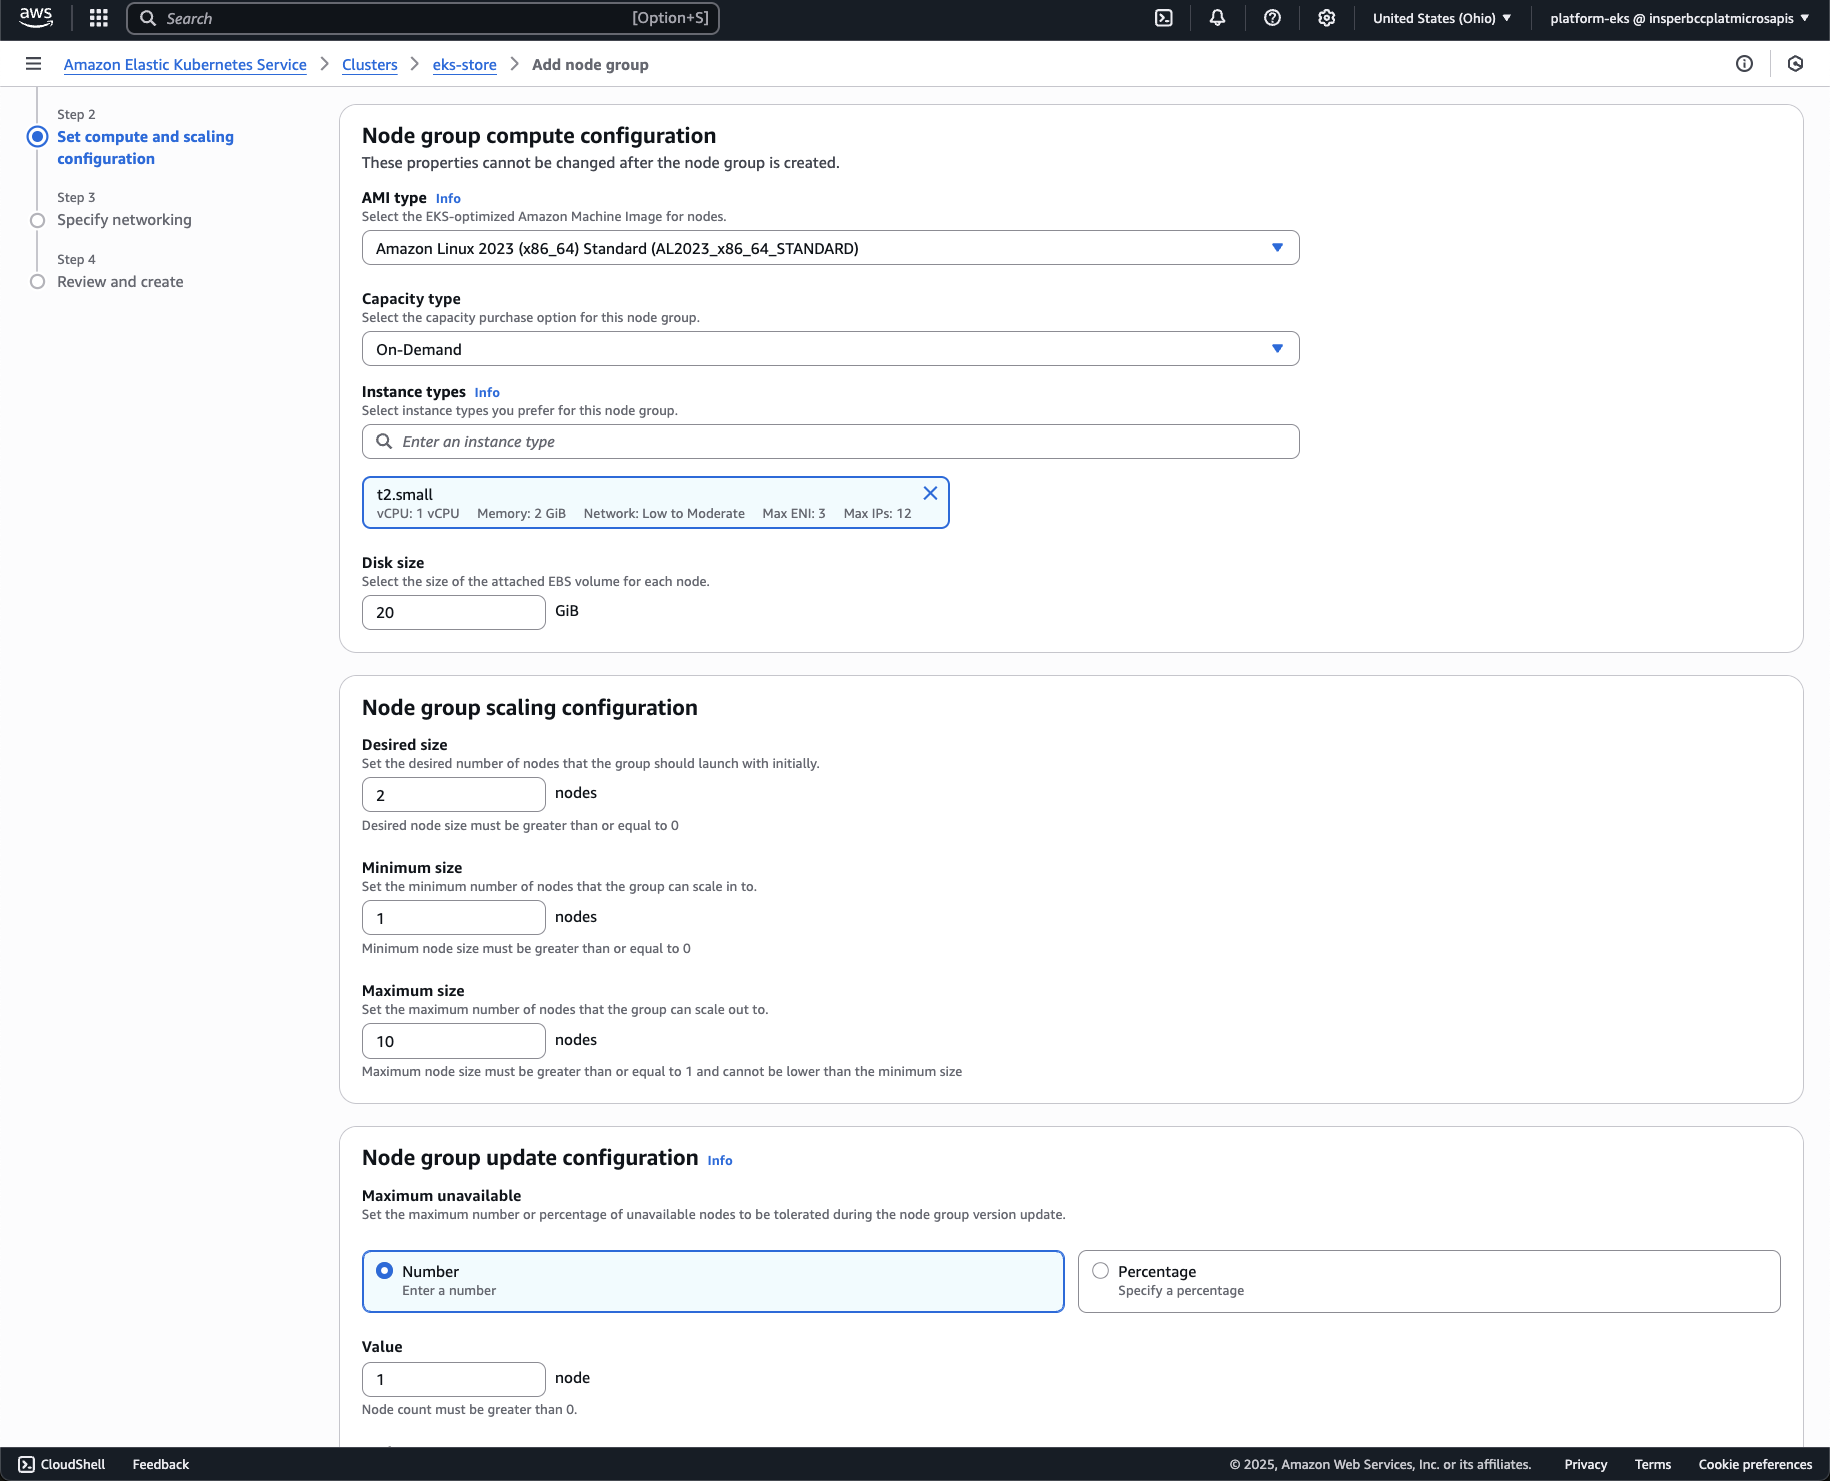
Define the Configuration of machine type
Only private subnets:
On terminal, after that it had been set up the aws cli.
See the configuration that was set up:
---- ----- ---- --------
profile <not set> None None
access_key **TTNI shared-credentials-file
secret_key **zAJ1 shared-credentials-file
region us-east-2 config-file ~/.aws/config
Set up the kube-config to point to the remote aws eks cluster.
>
>kubectl get podsNo resources found in default namespace.
>
>kubectl get nodesNo resources found
>
Nice commands